When we searched for a new home (and moved from the Northshore to Central Massachusetts) a terrific birdroom was on the wish list, but as you know…. it is hard to find ALL you are looking for. So, we compromised on the perfect home with an area to BUILD a new birdroom.
The home is only a few years old and has a nice dry basement, with great concrete and a half walk out design that is already finished. We selected the area to use for the aviary, and sealed the floor.
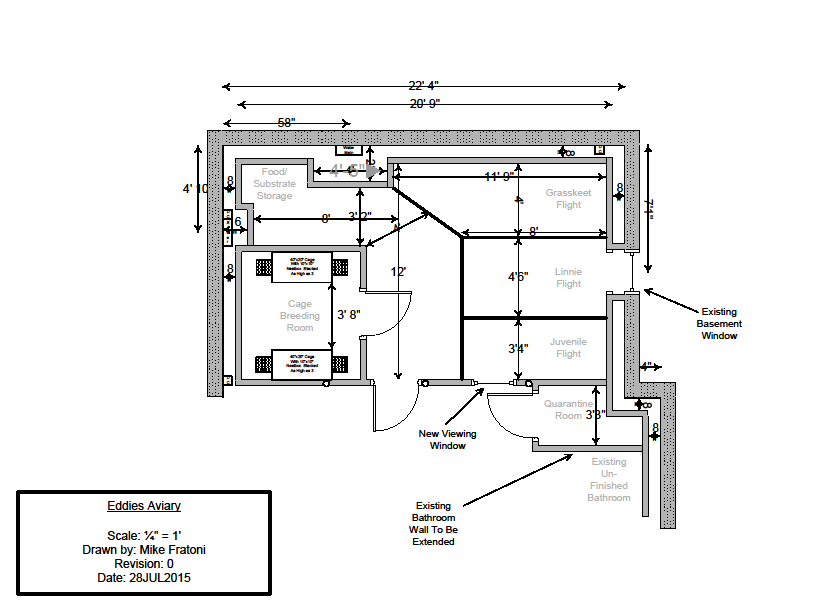
My husband is a quasi engineer and drew up a plan for us….
© COPYRIGHT 2015 Mike Fratoni
New Birdroom Floorplan
We used a garage floor epoxy paint. Manufactured by Rustoleum, we were happy with the end result. It was 2 parts to be mixed, then rolled on. It covered well, however the coverage area marked on the box is an underestimation in my opinion. We sprinkled the included color flakes in the tacky first coat and then a few days later did a solvent based 2 part clear coat (also Rustoleum product) which gave a fabulous shine and added thickness and wear-ability to the floor. I suspect it will hold up better to lots of cleaning as the color layer is protected.
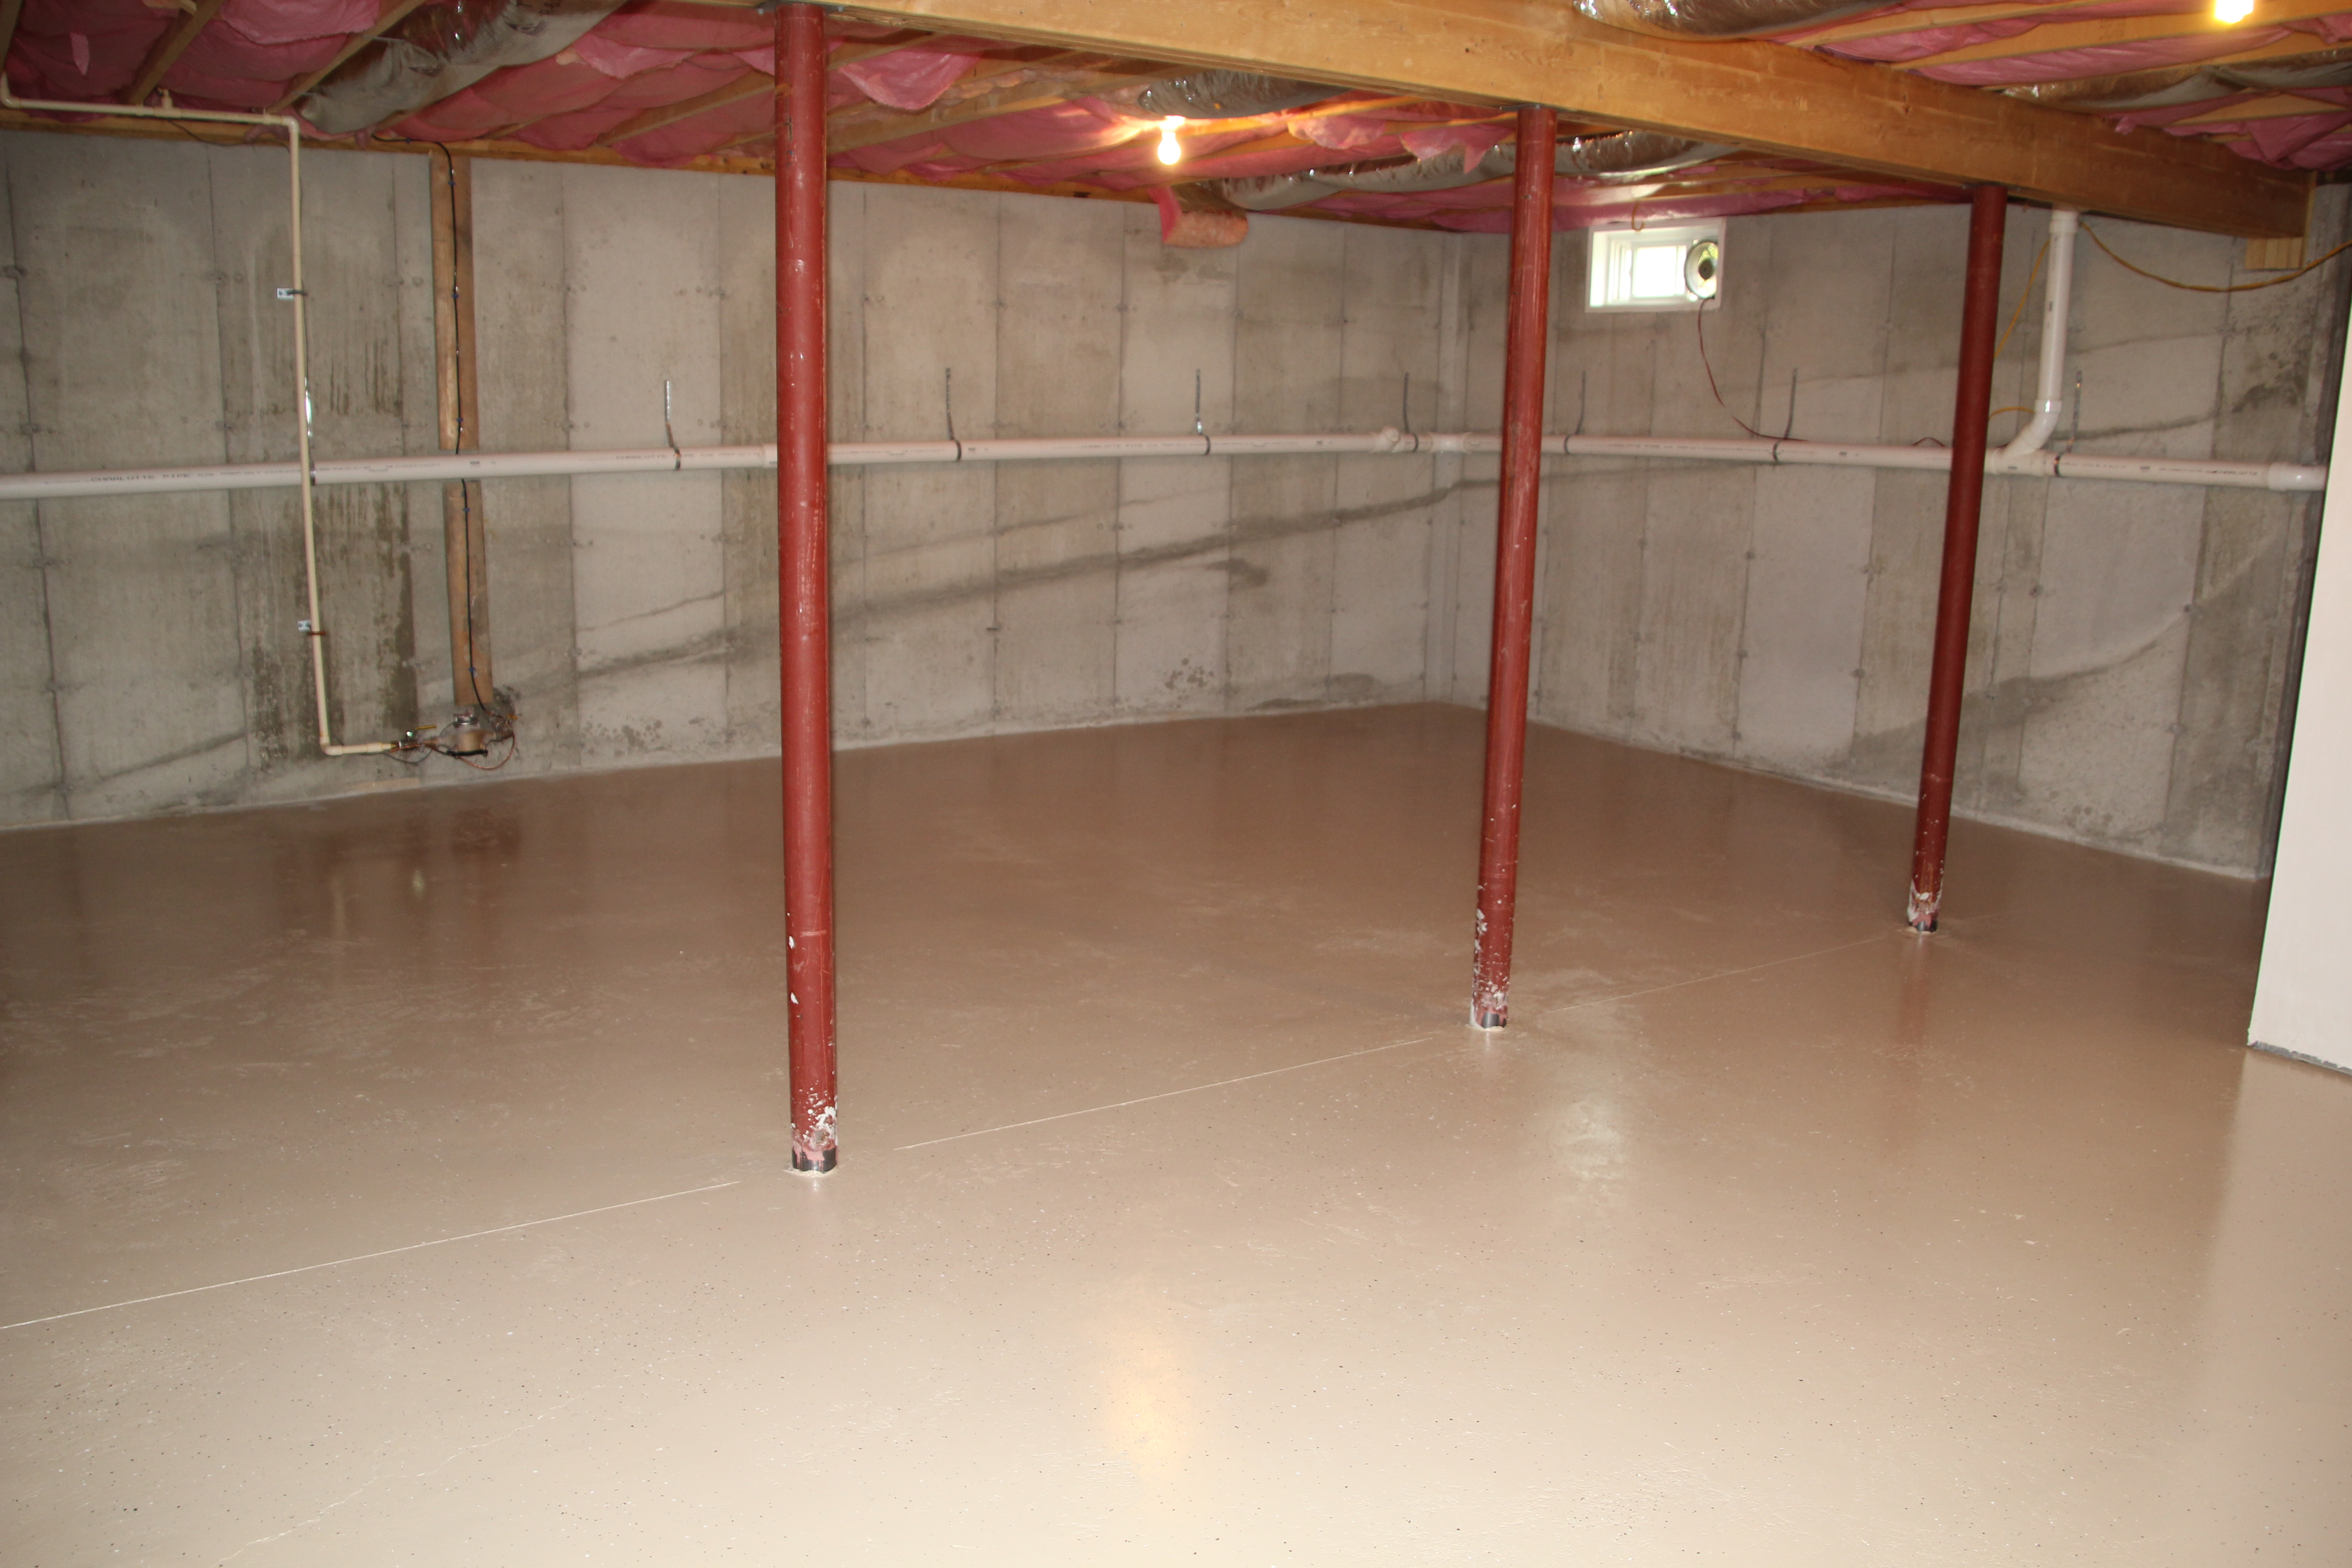
Future room area, floor painted and cleacoated
Throughout the process, we had to plan for unusual requirements of a basement aviary. Including cleanouts to allow later access to pipe cleanouts and main water valve shutoffs.
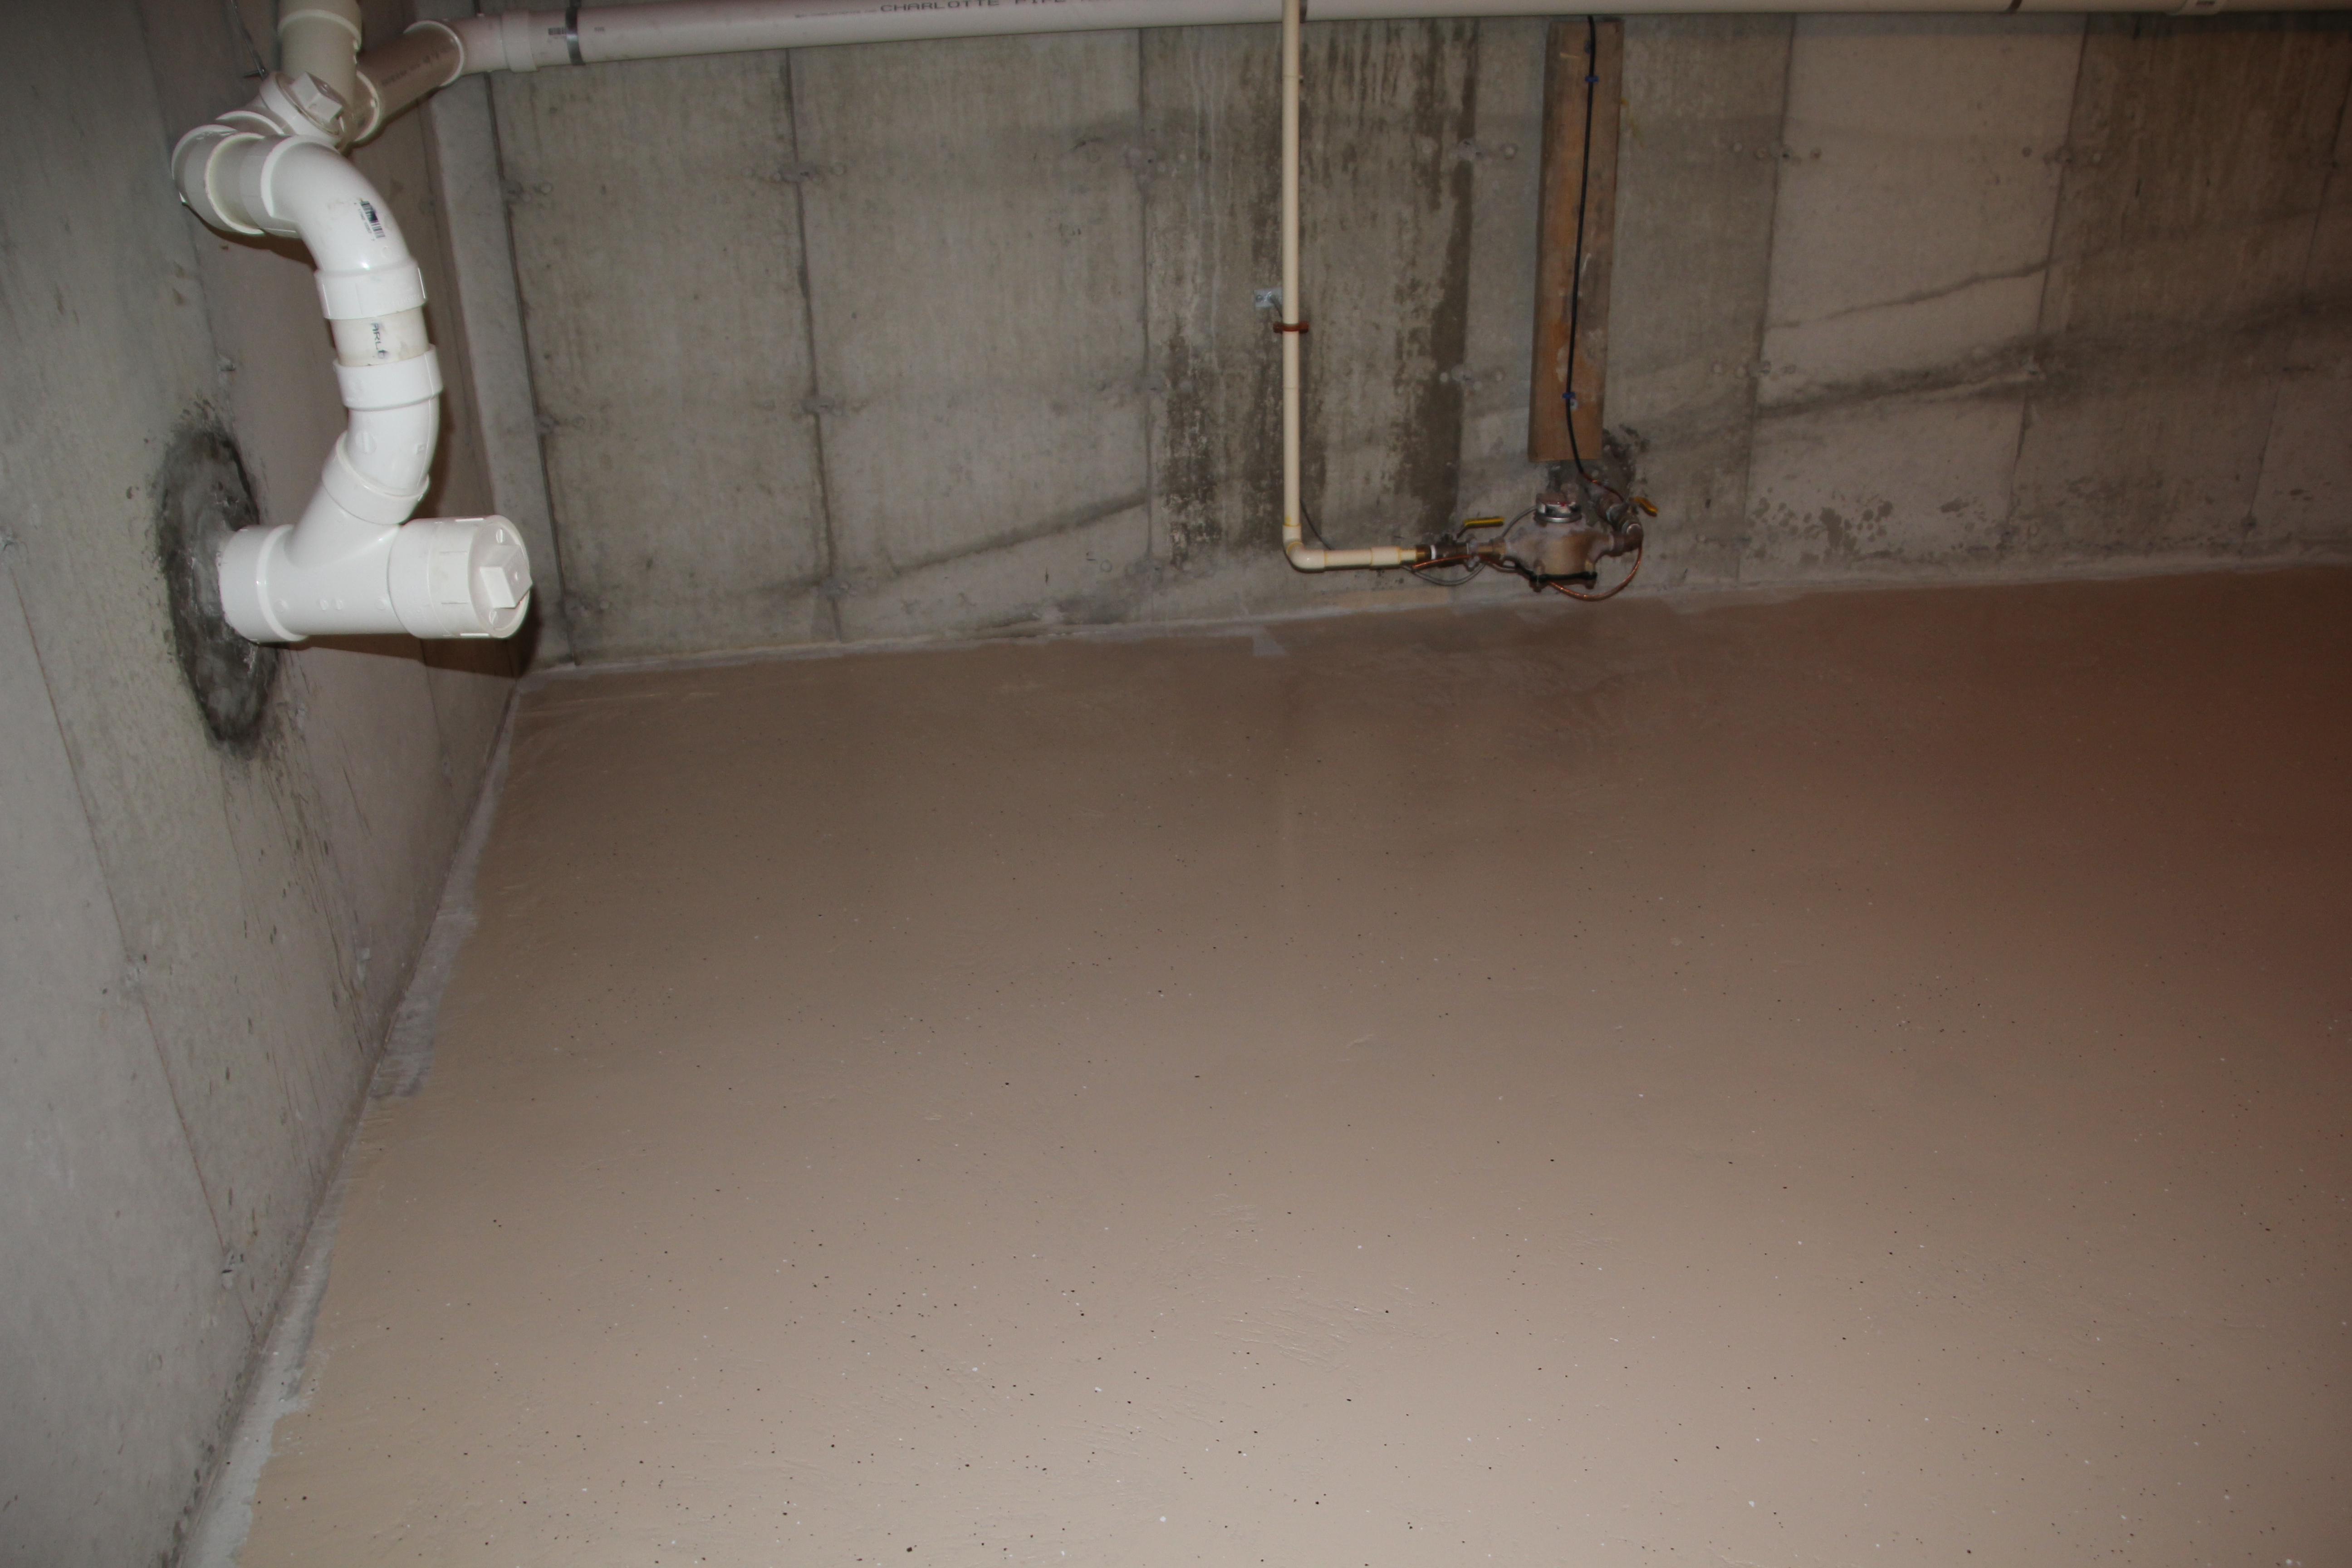
Design had to include access to drain cleanouts and the main water shutoff.
We have been so busy with the move and chasing after a toddler, that we chose to hire a contractor to do the framing, insulation and sheetrock. My husband is a licensed electrician and did that work. I am very grateful.
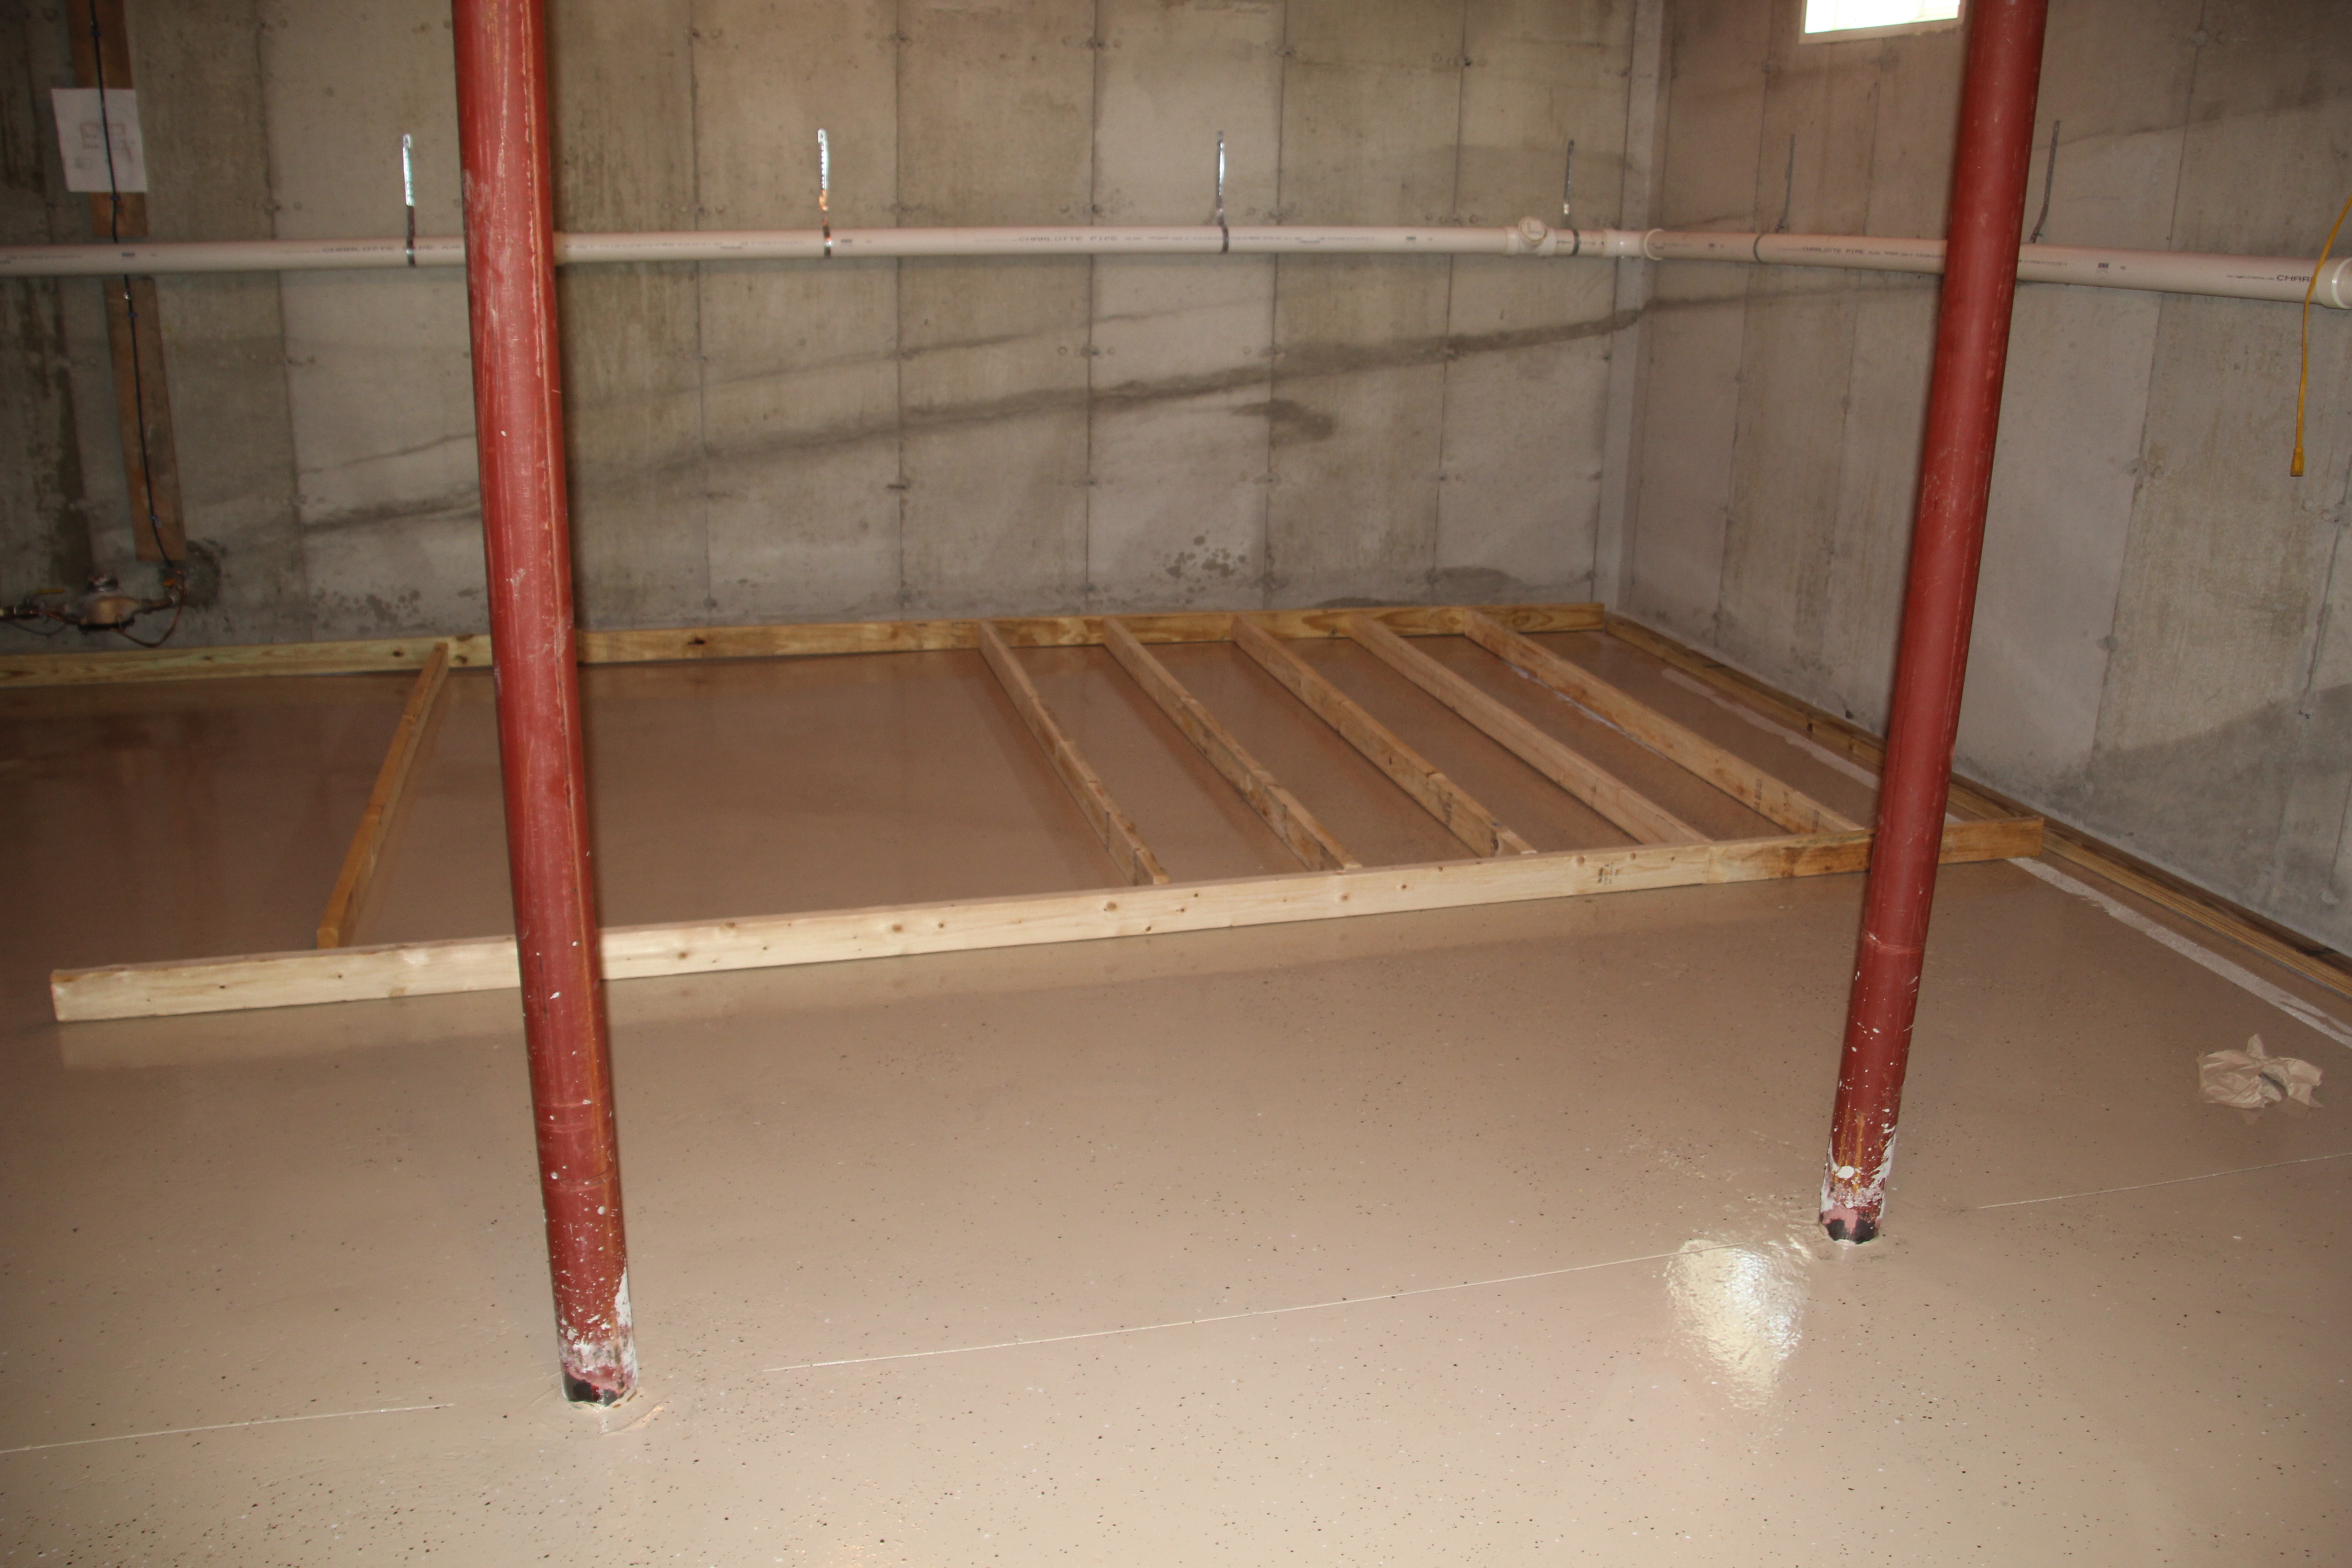
The walls were built on the ground in most cases and raised up in to position. The timbers that touch the floor are pressure treated wood.
We decided to frame in the lolly columns and Sheetrock the outside wall as well for a nice, finished look.
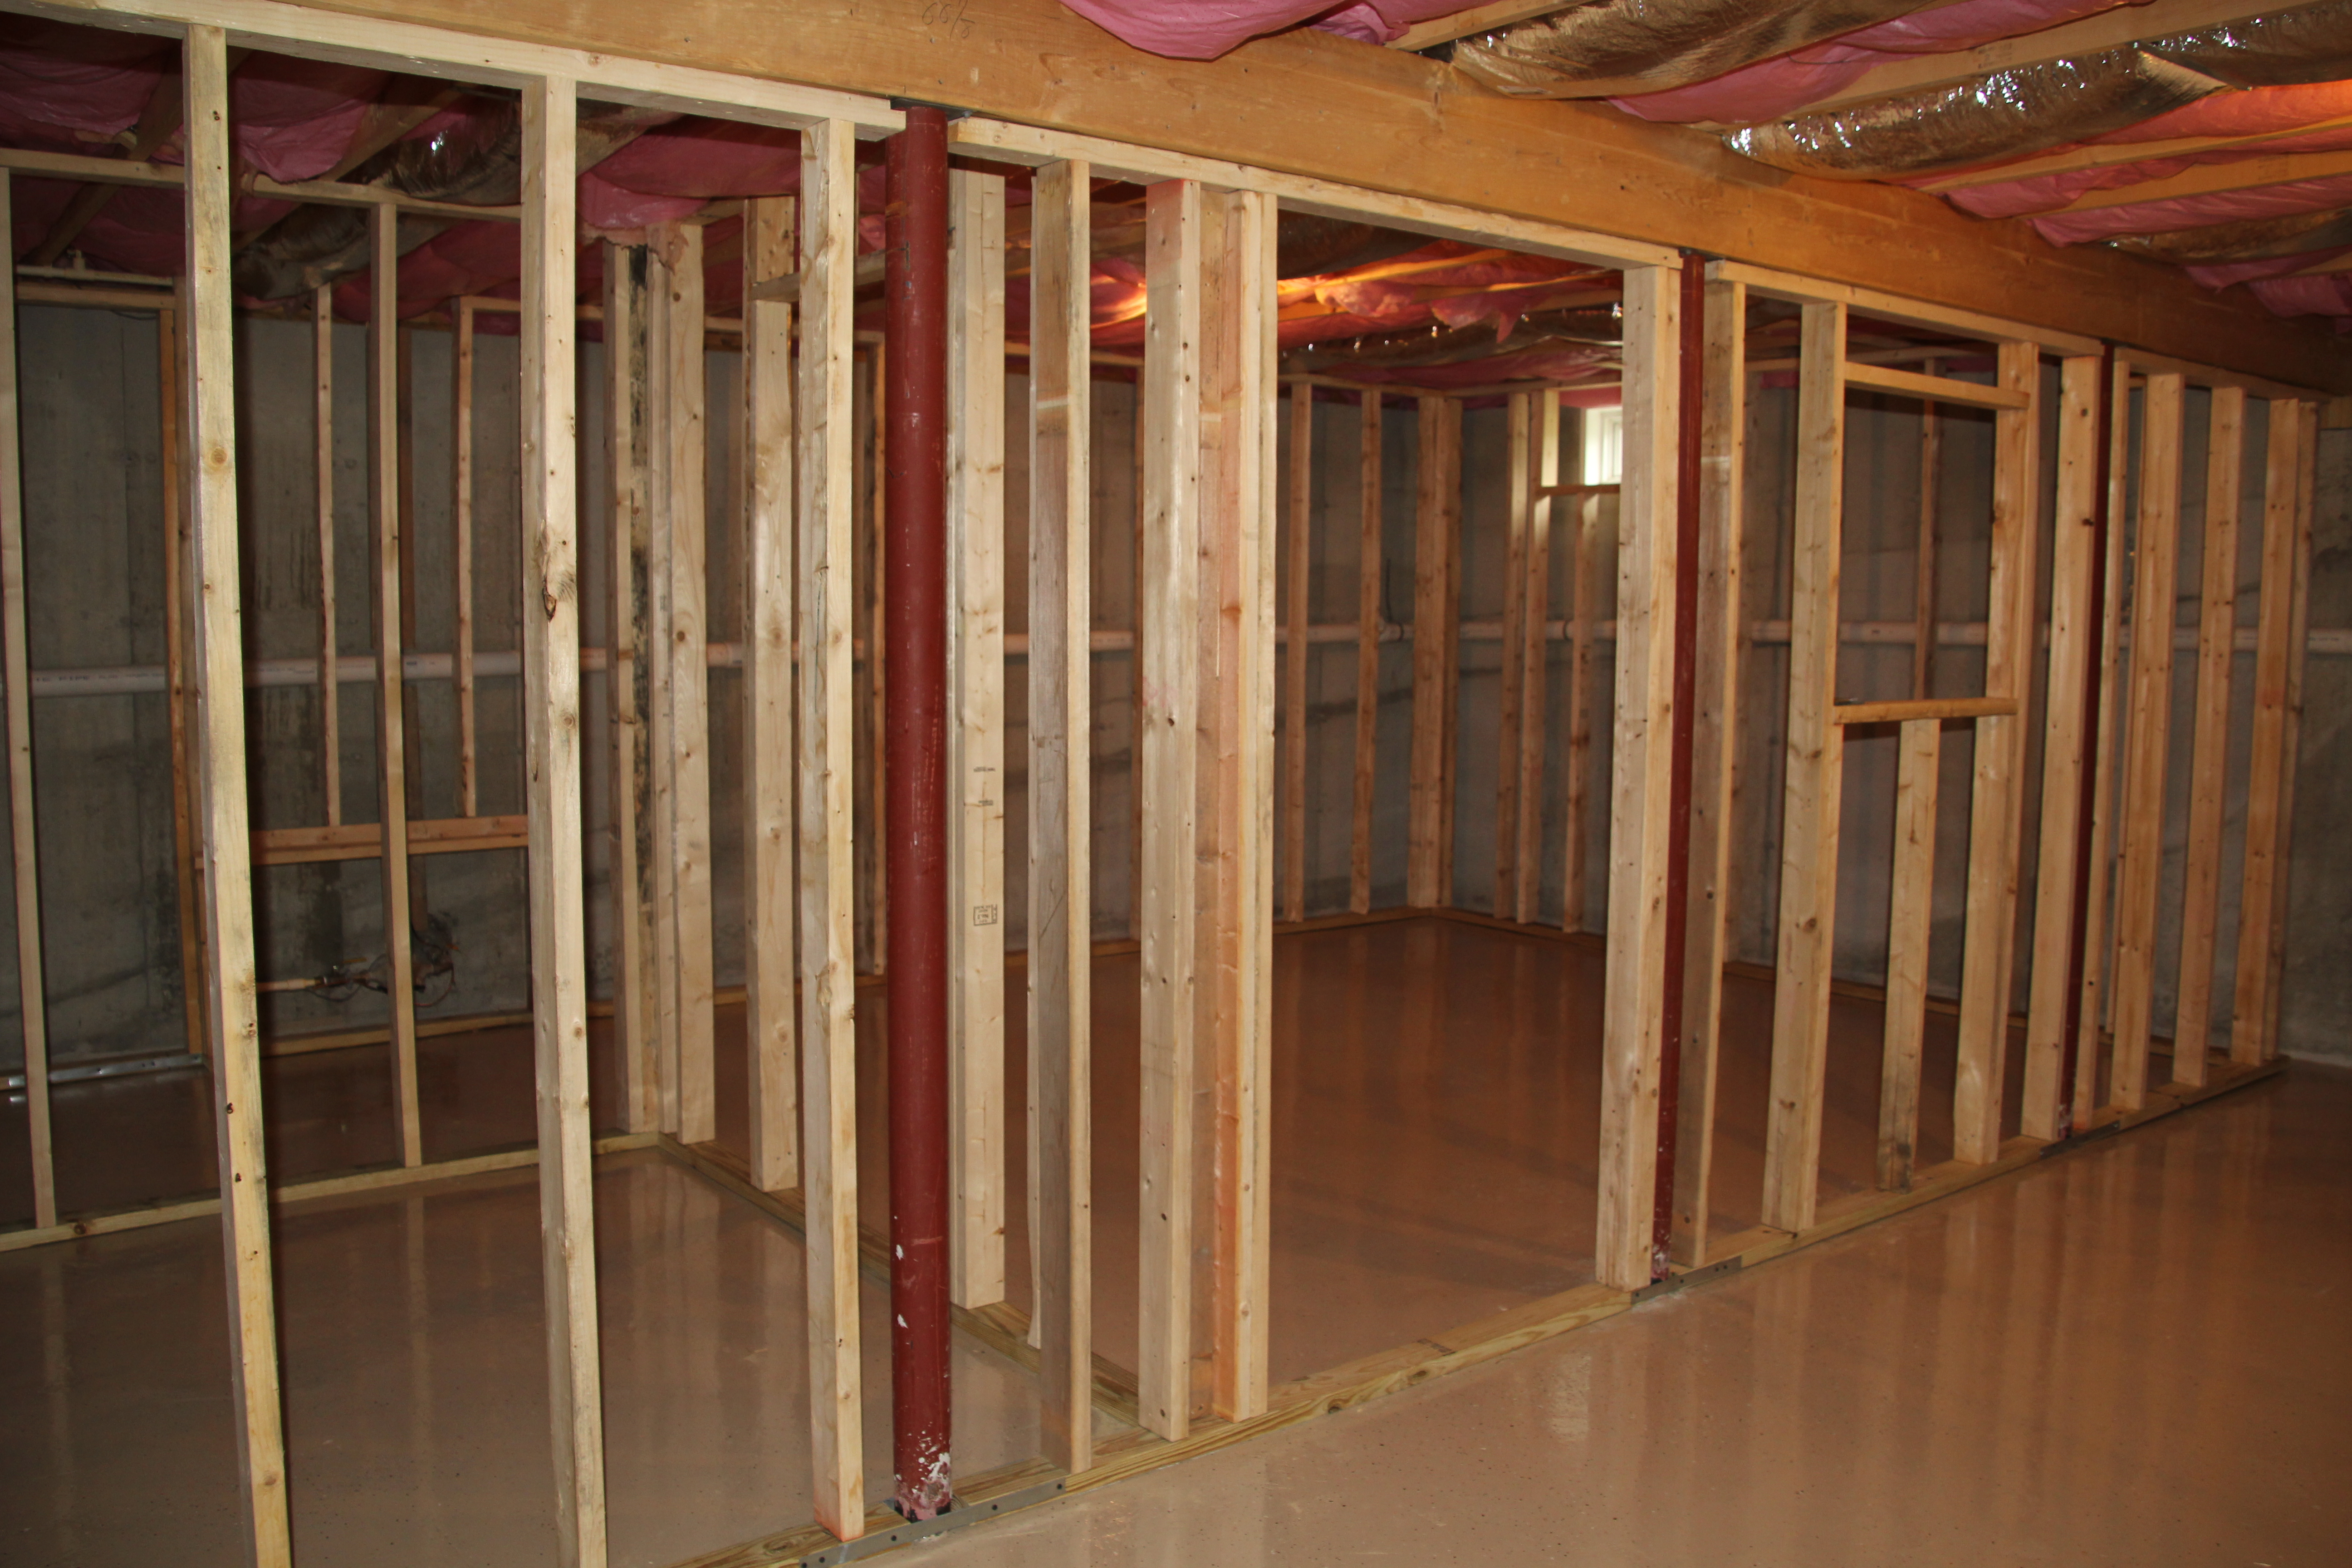
View from outside the birdroom. This view shows the breeding room, entrance to main room, and the sliding viewing window to the flights.
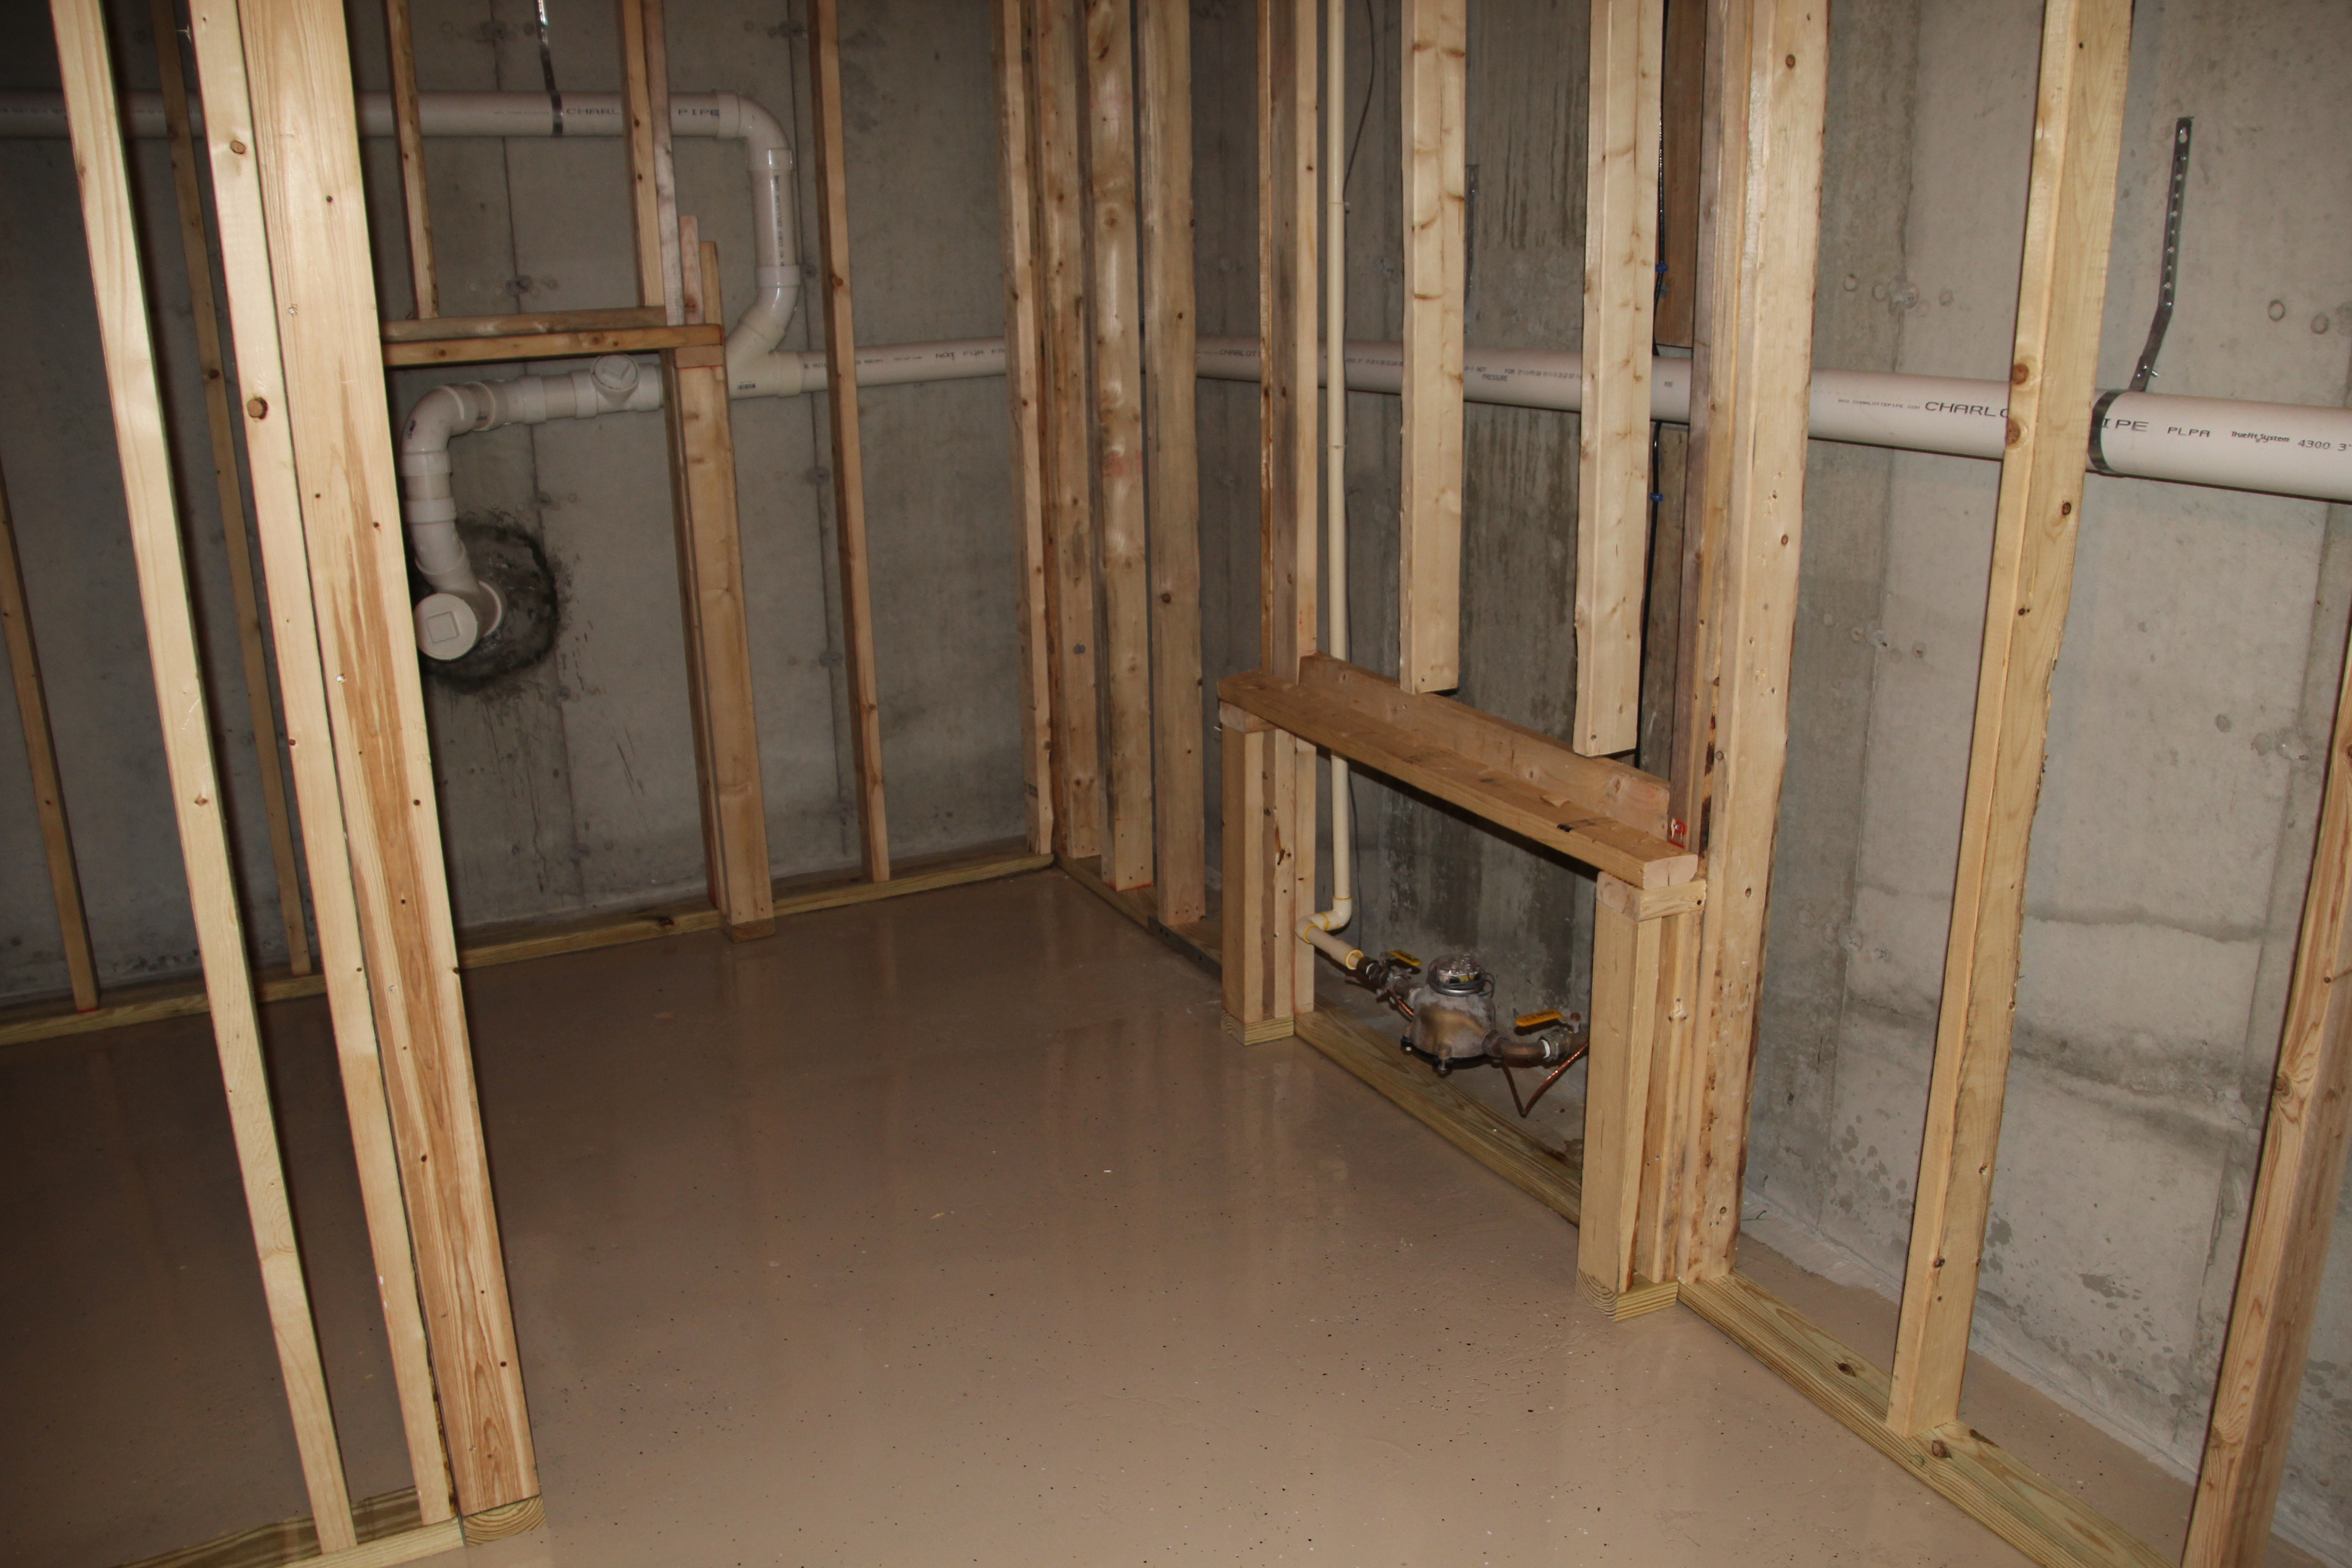
This is the corner which will house the bins of feed, as well as shelving.
View from the future walk in flights, looking at the breeding room. We do not believe in colony breeding. We like to choose the pairs and keep careful records. Linnies are very difficult to breed, and they appreciate the privacy this room offers.
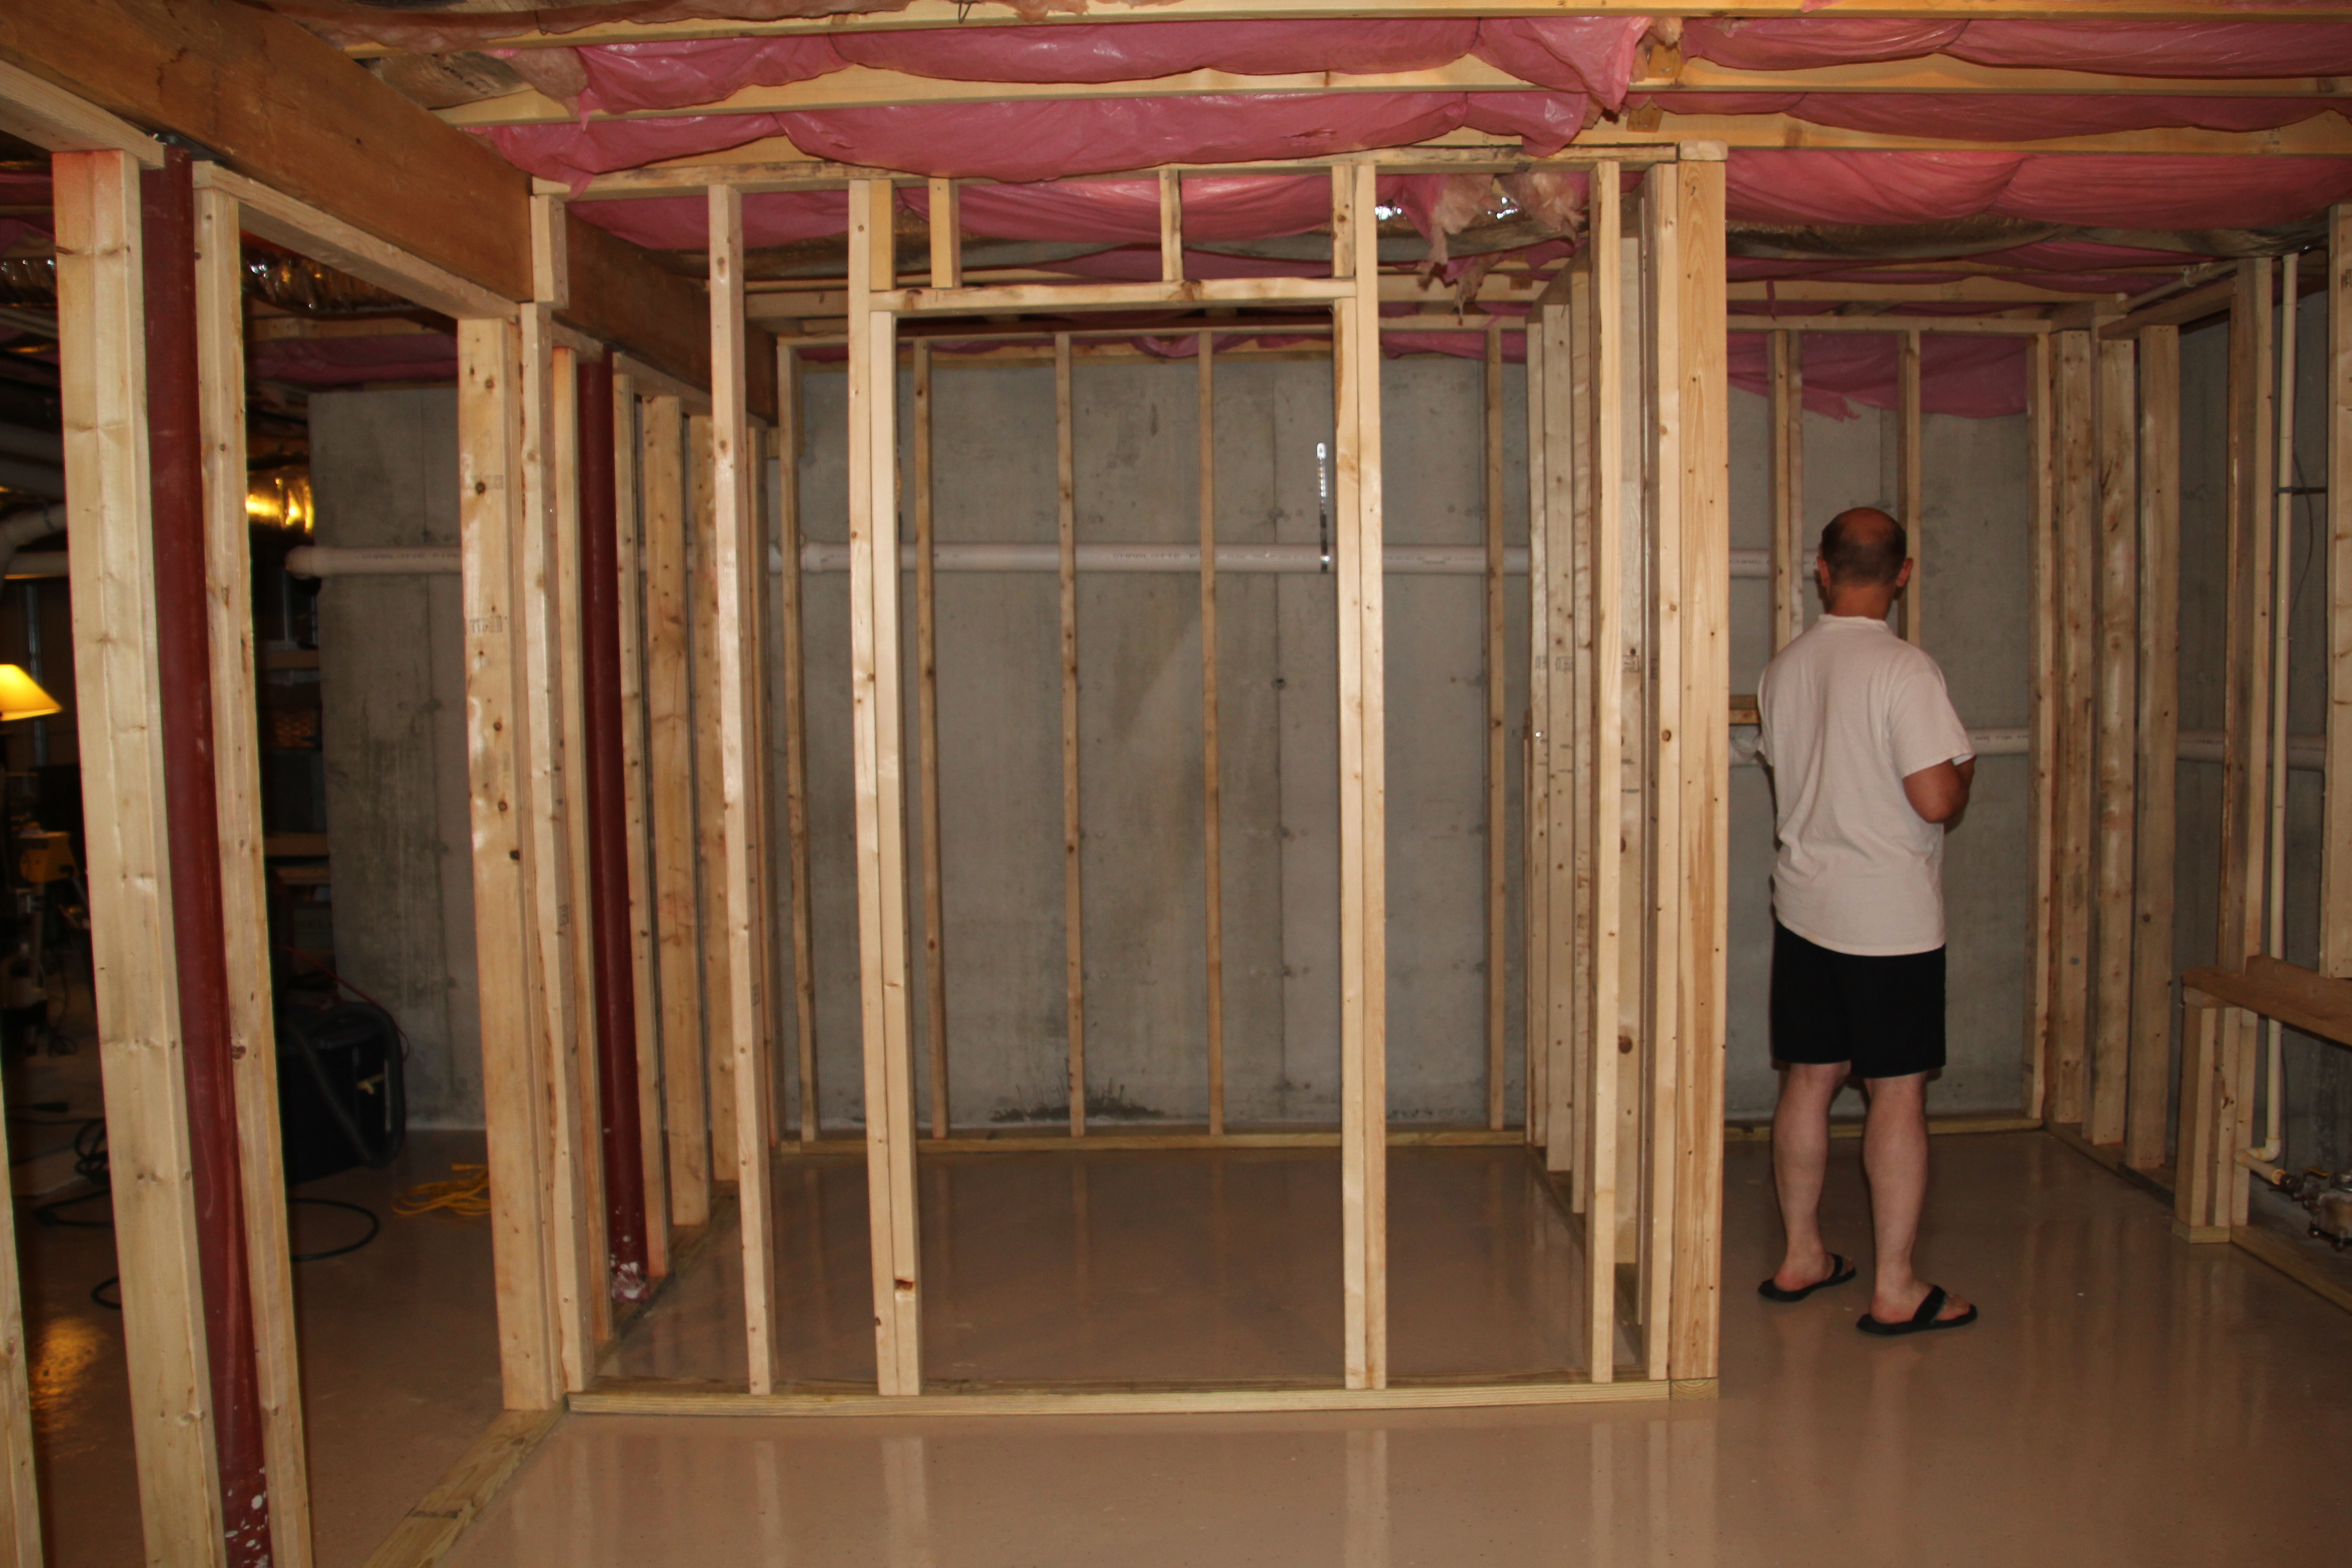
The room includes a quiet and closed off room with heat for cage breeding individual pairs
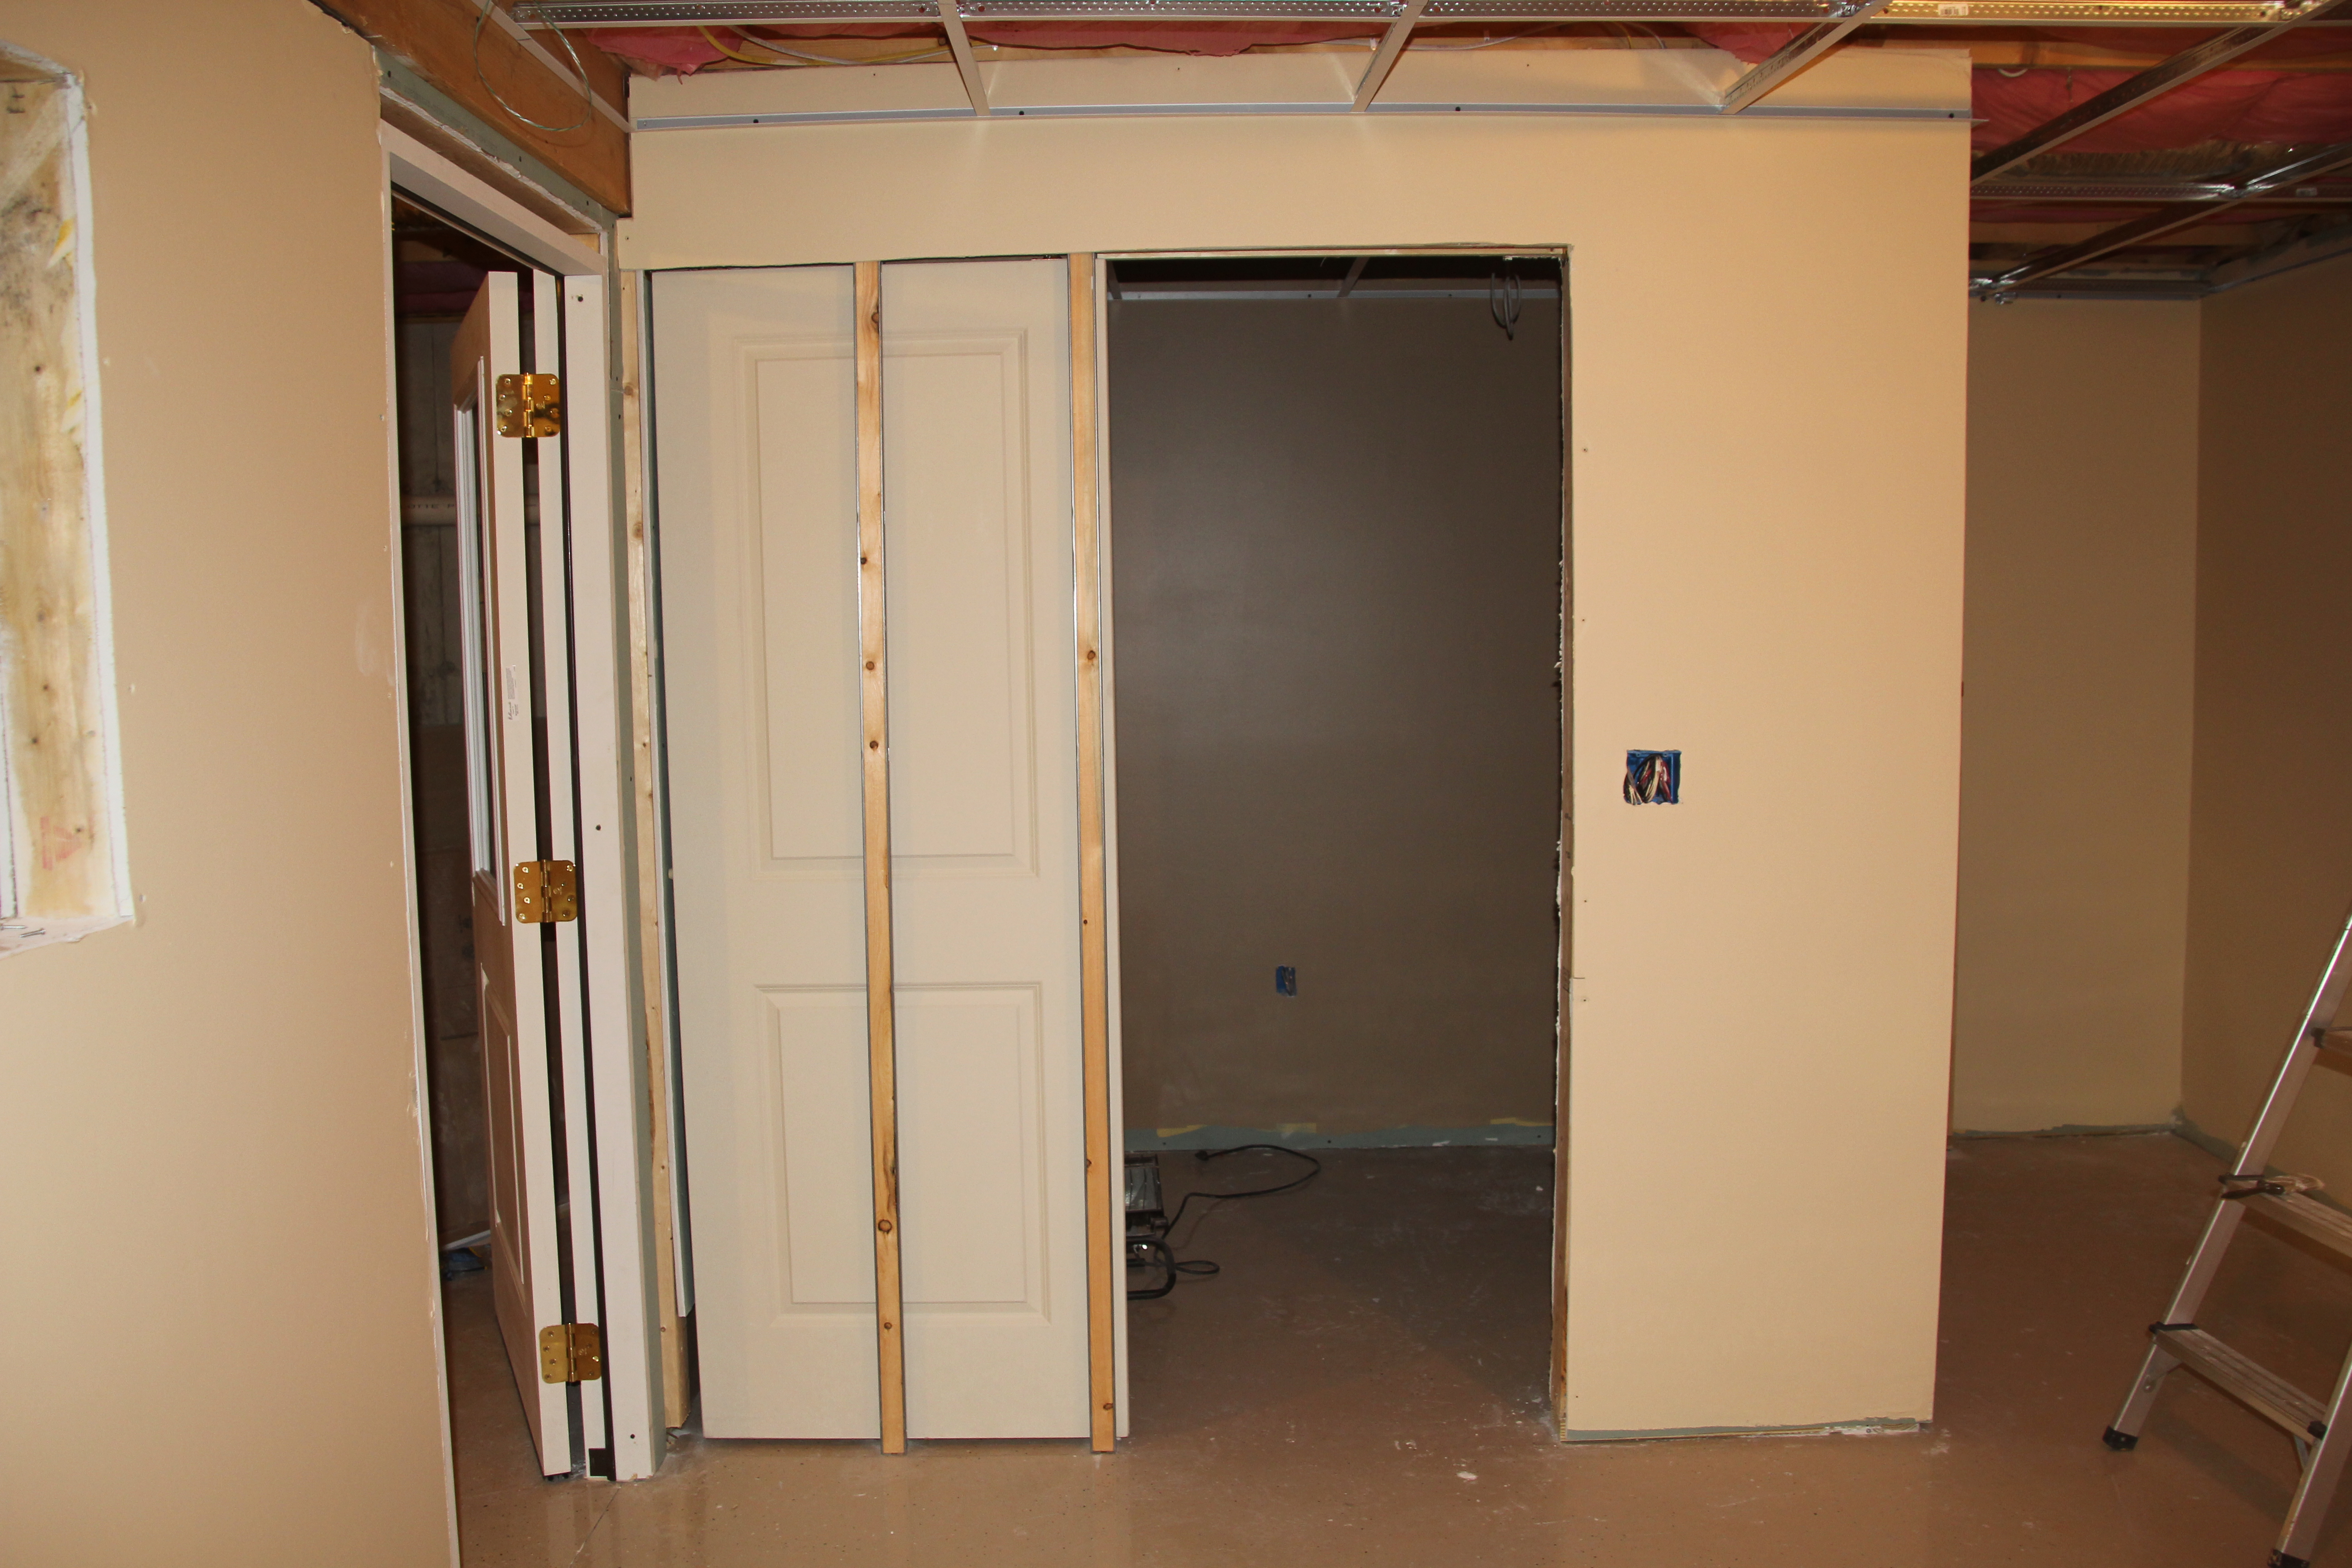
Late into construction, we decided a pocket door would be better for the breeding room so that a large door isn’t swinging into the room. This keeps all work areas and walking paths clear of obstruction.
We also added a room outside of the main bird room as a quarantine room. Sadly, logistics on the air system made it impossible, so we use it to store the bales of shavings we use on the floor of the flights. We quarantine new birds far away from the existing flock, in another wing of our home, on a different floor. All new birds are disease tested upon arrival, and are retested 4-6 weeks later.
The next step was the electric. We needed to include heat for the breeding room, as well as a timer system for the aviary lights. My husband chose to run metal conduit out of the room and back to the panel to keep the wiring neat and protected.
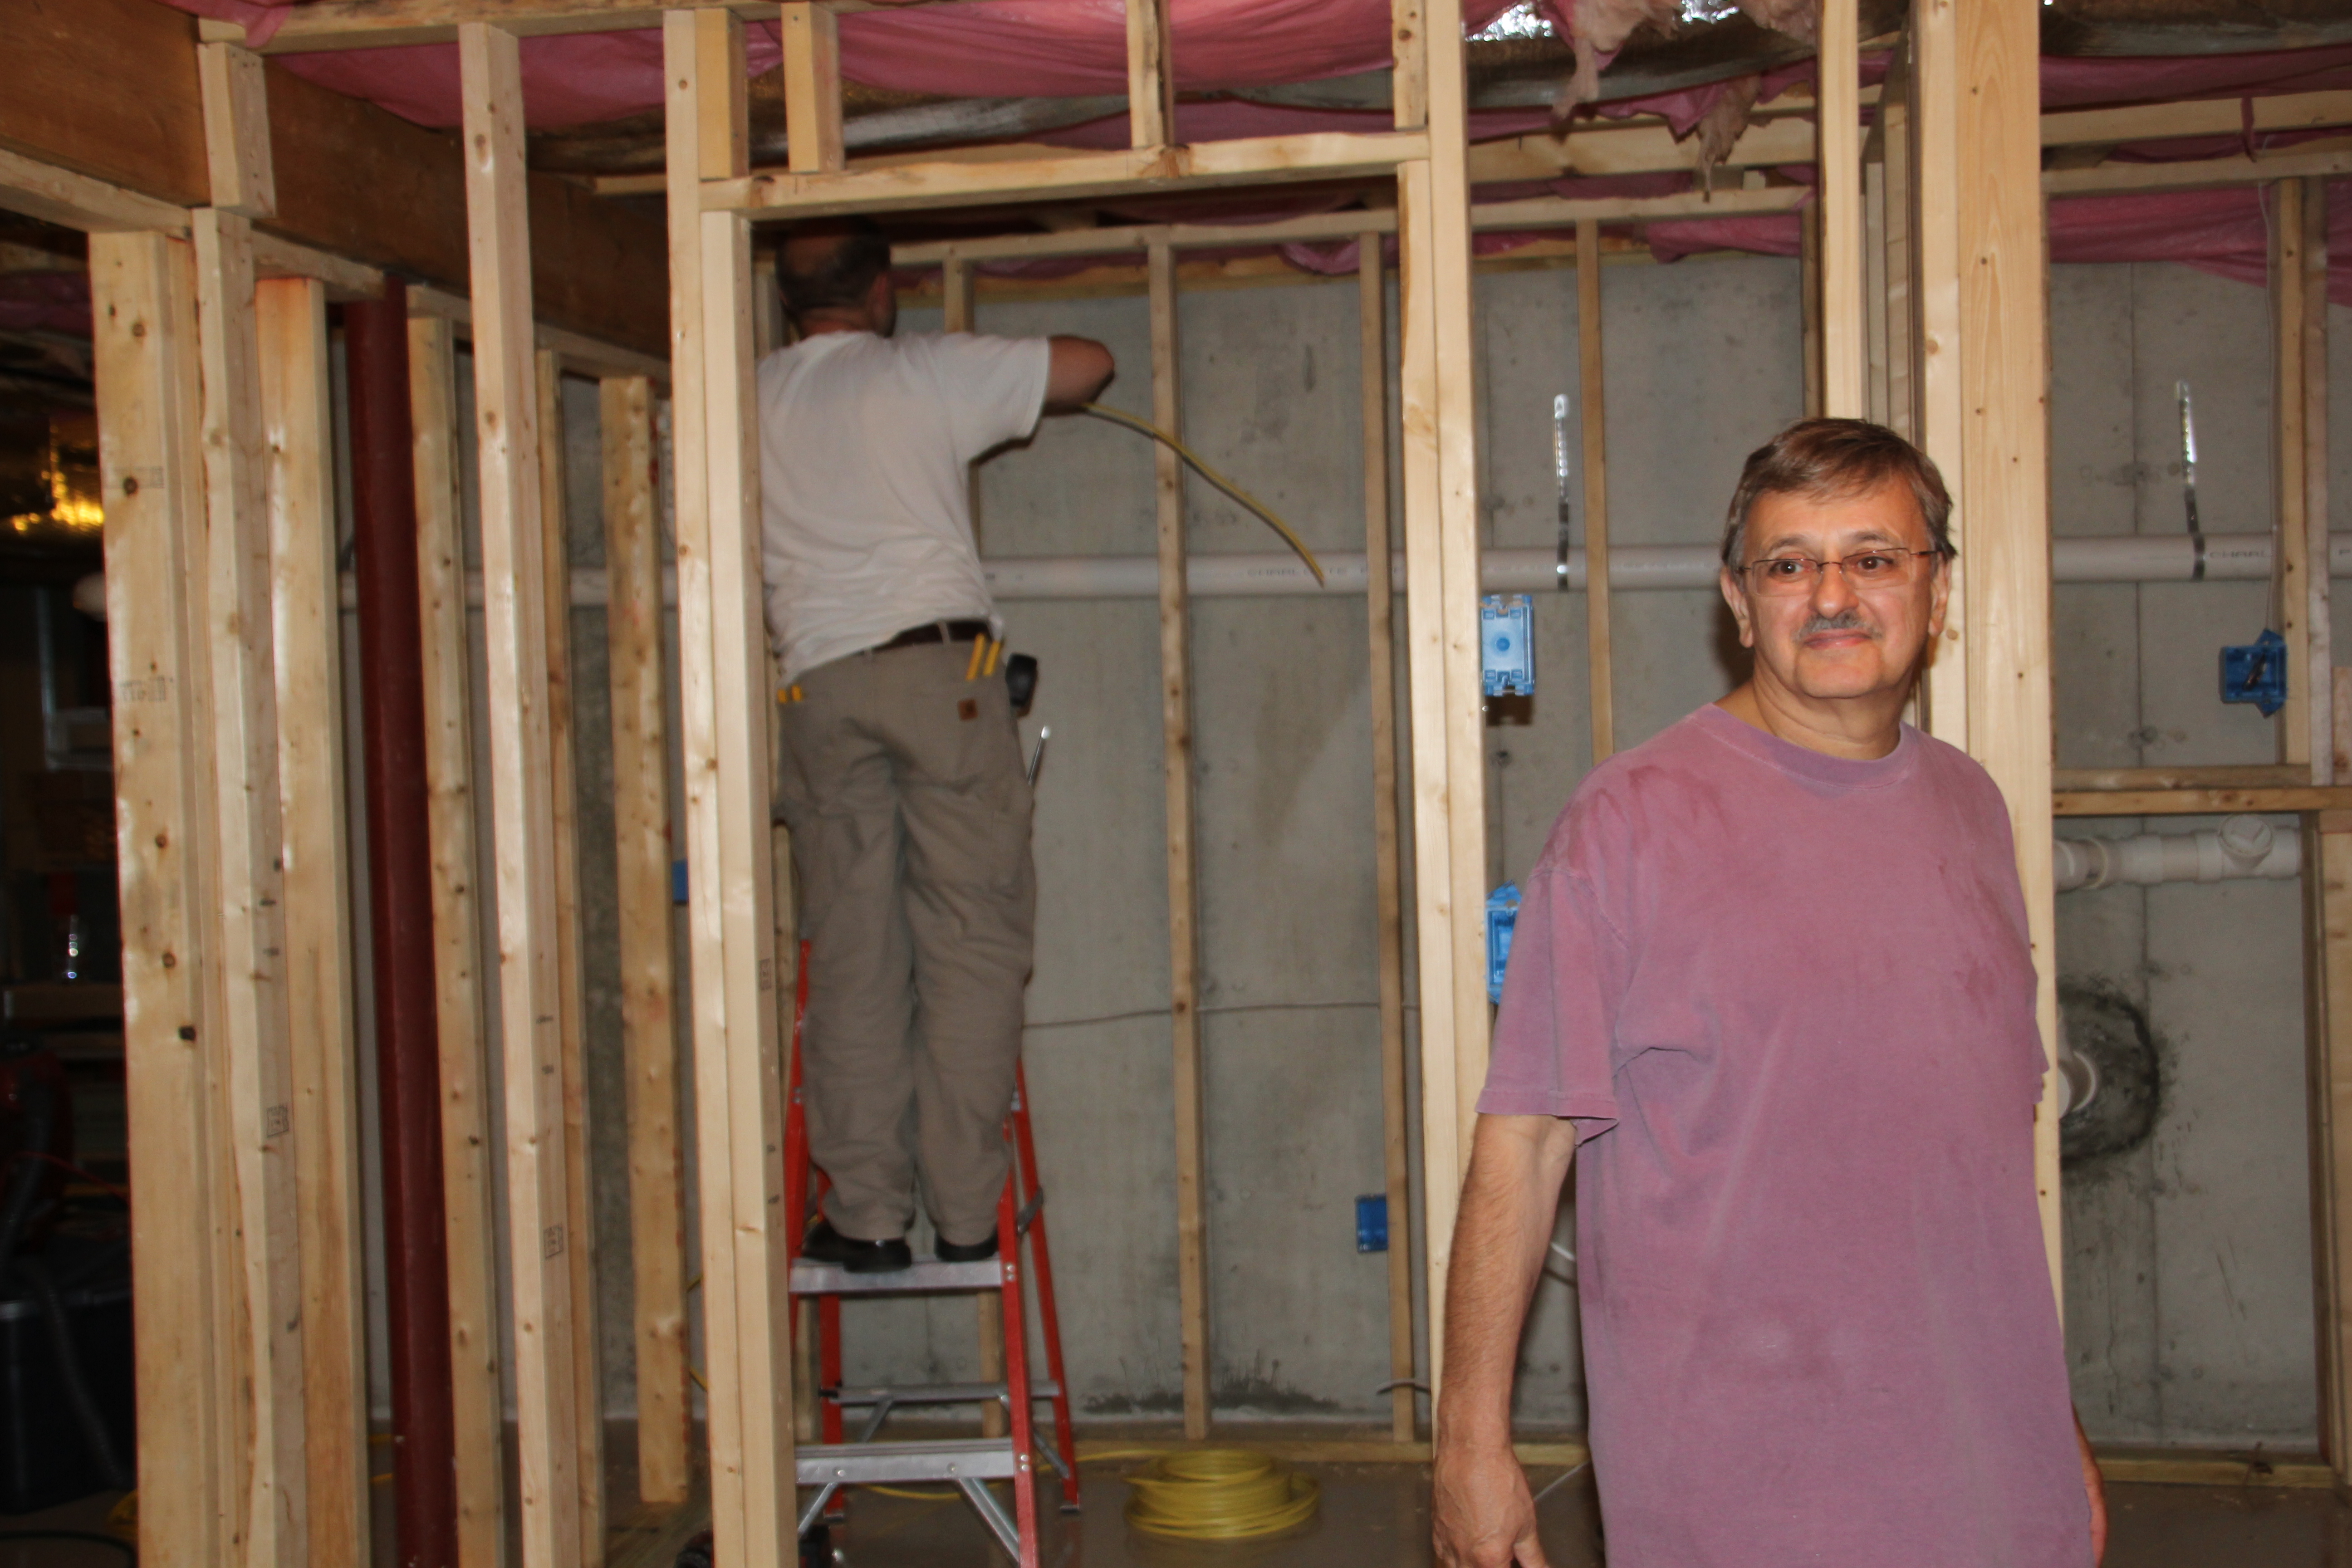
My sweet husband and Father in Law working on the electric
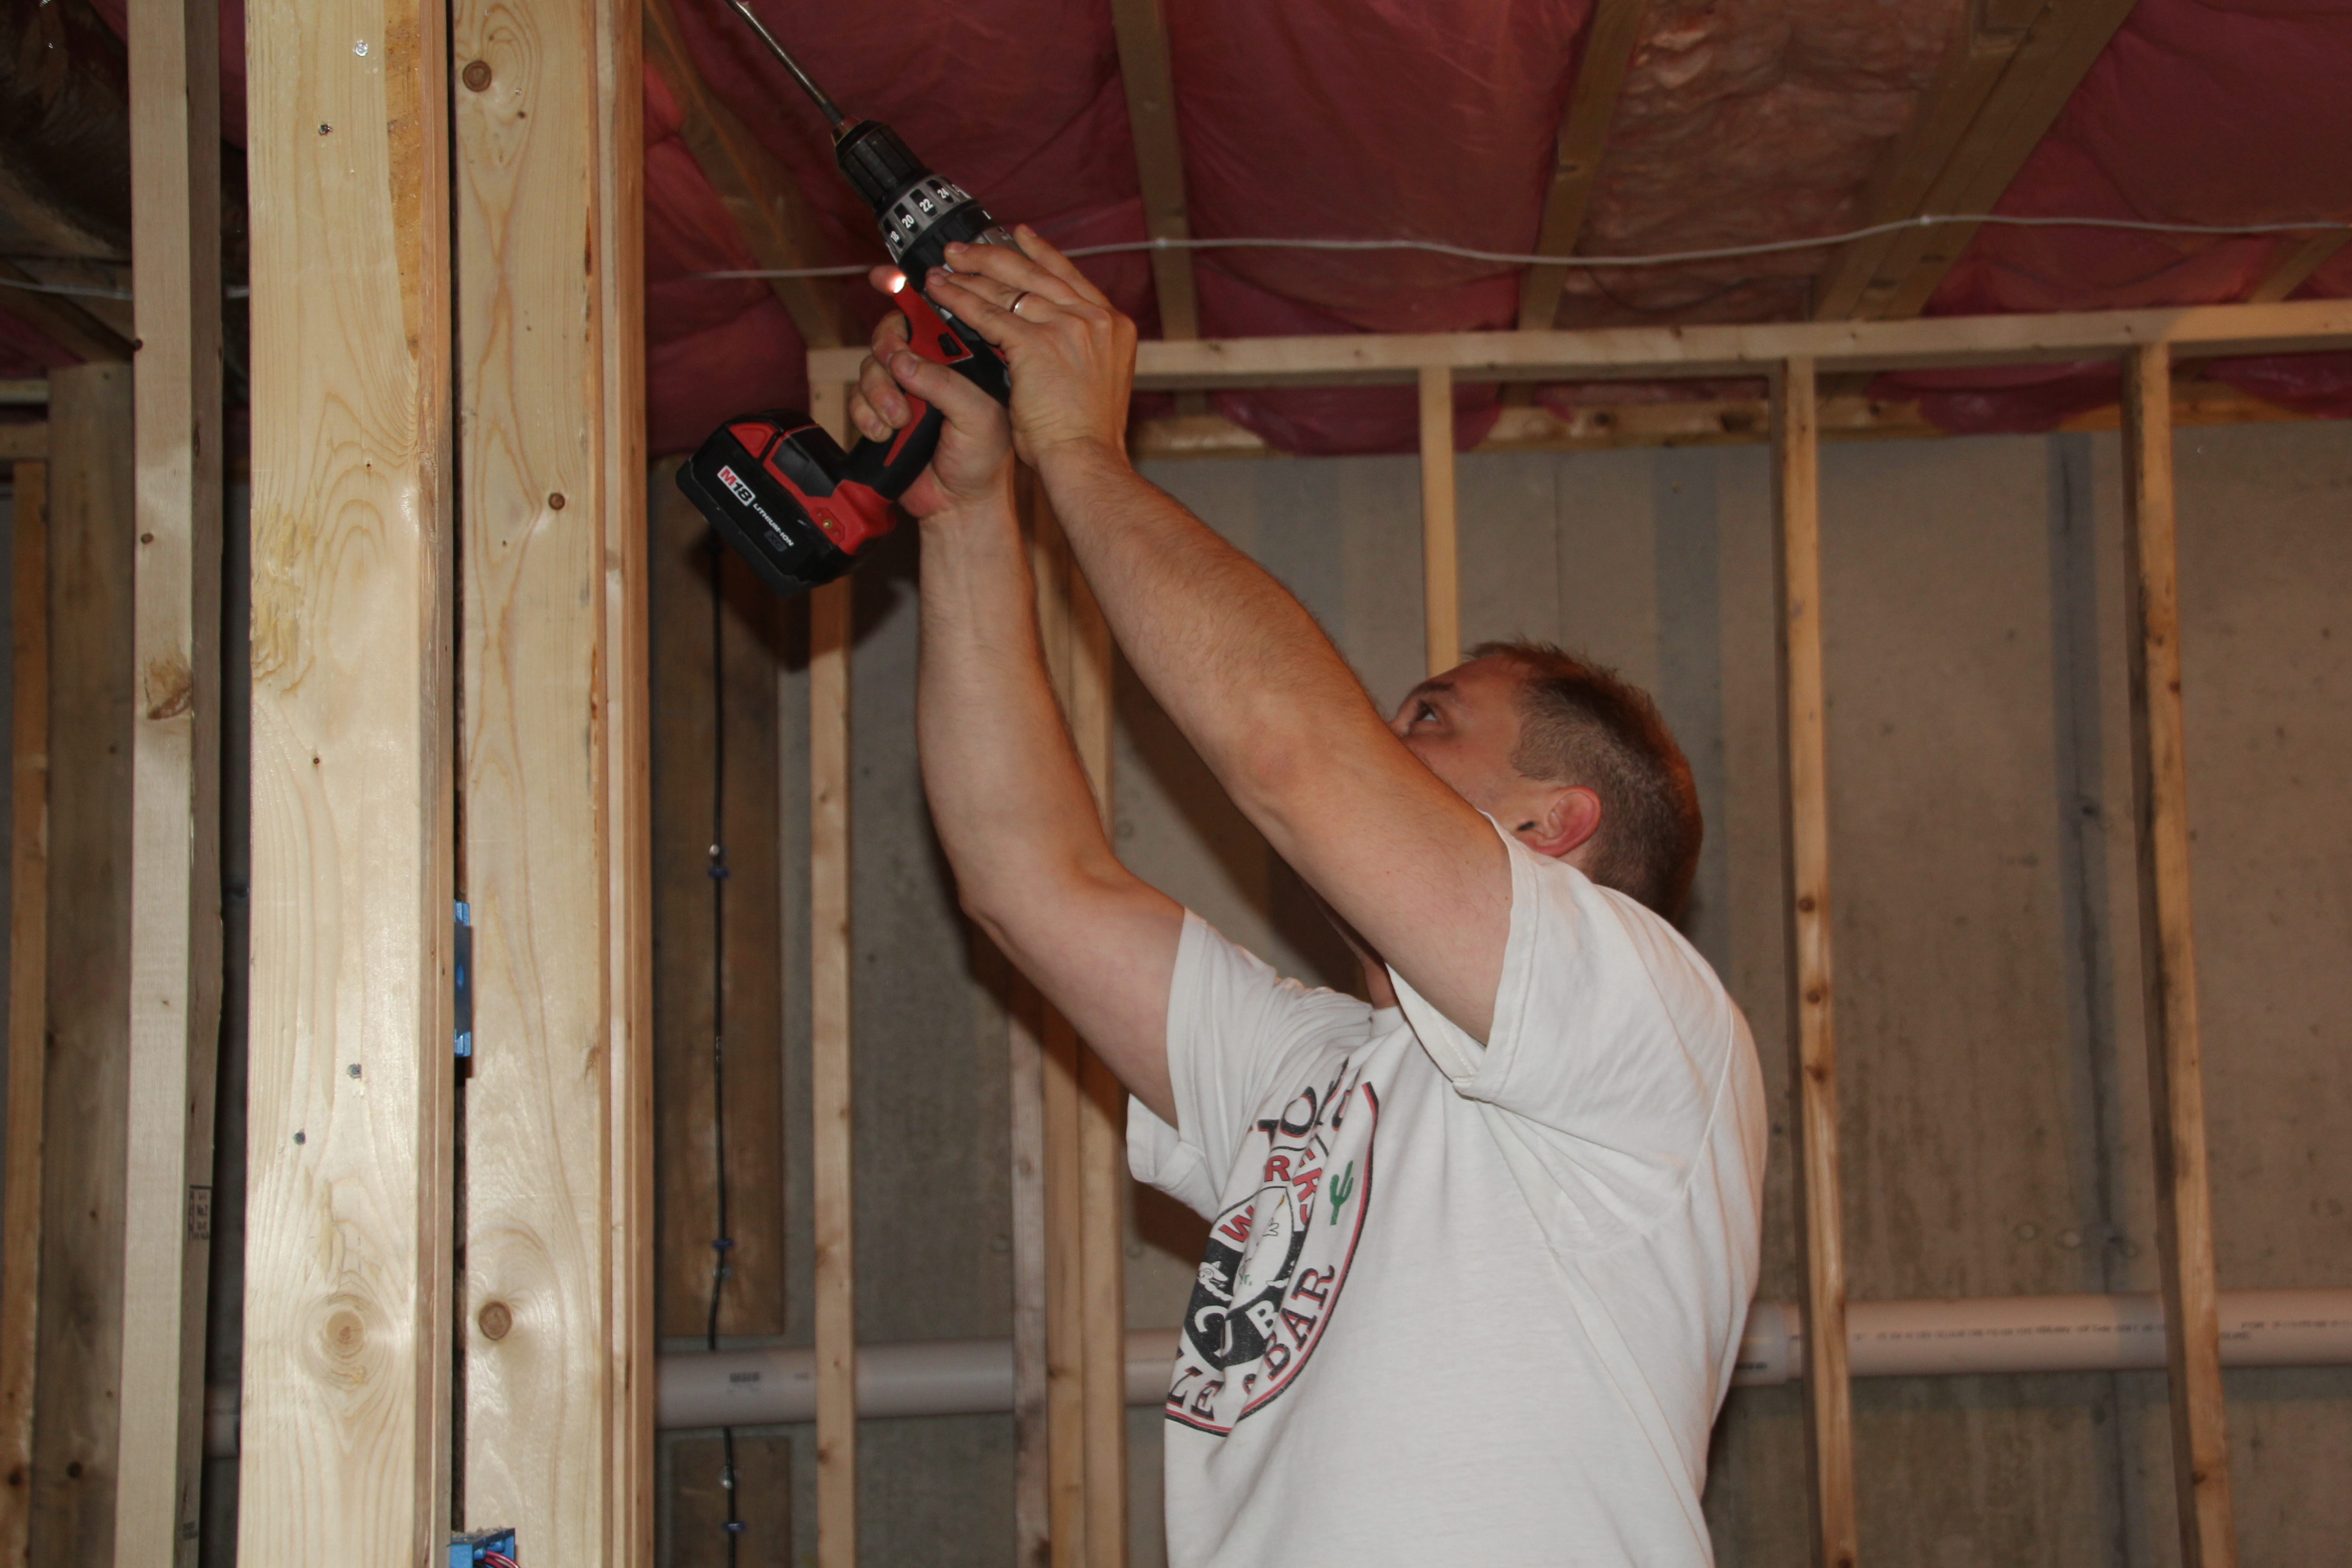
Mike is so hunky when wielding tools!
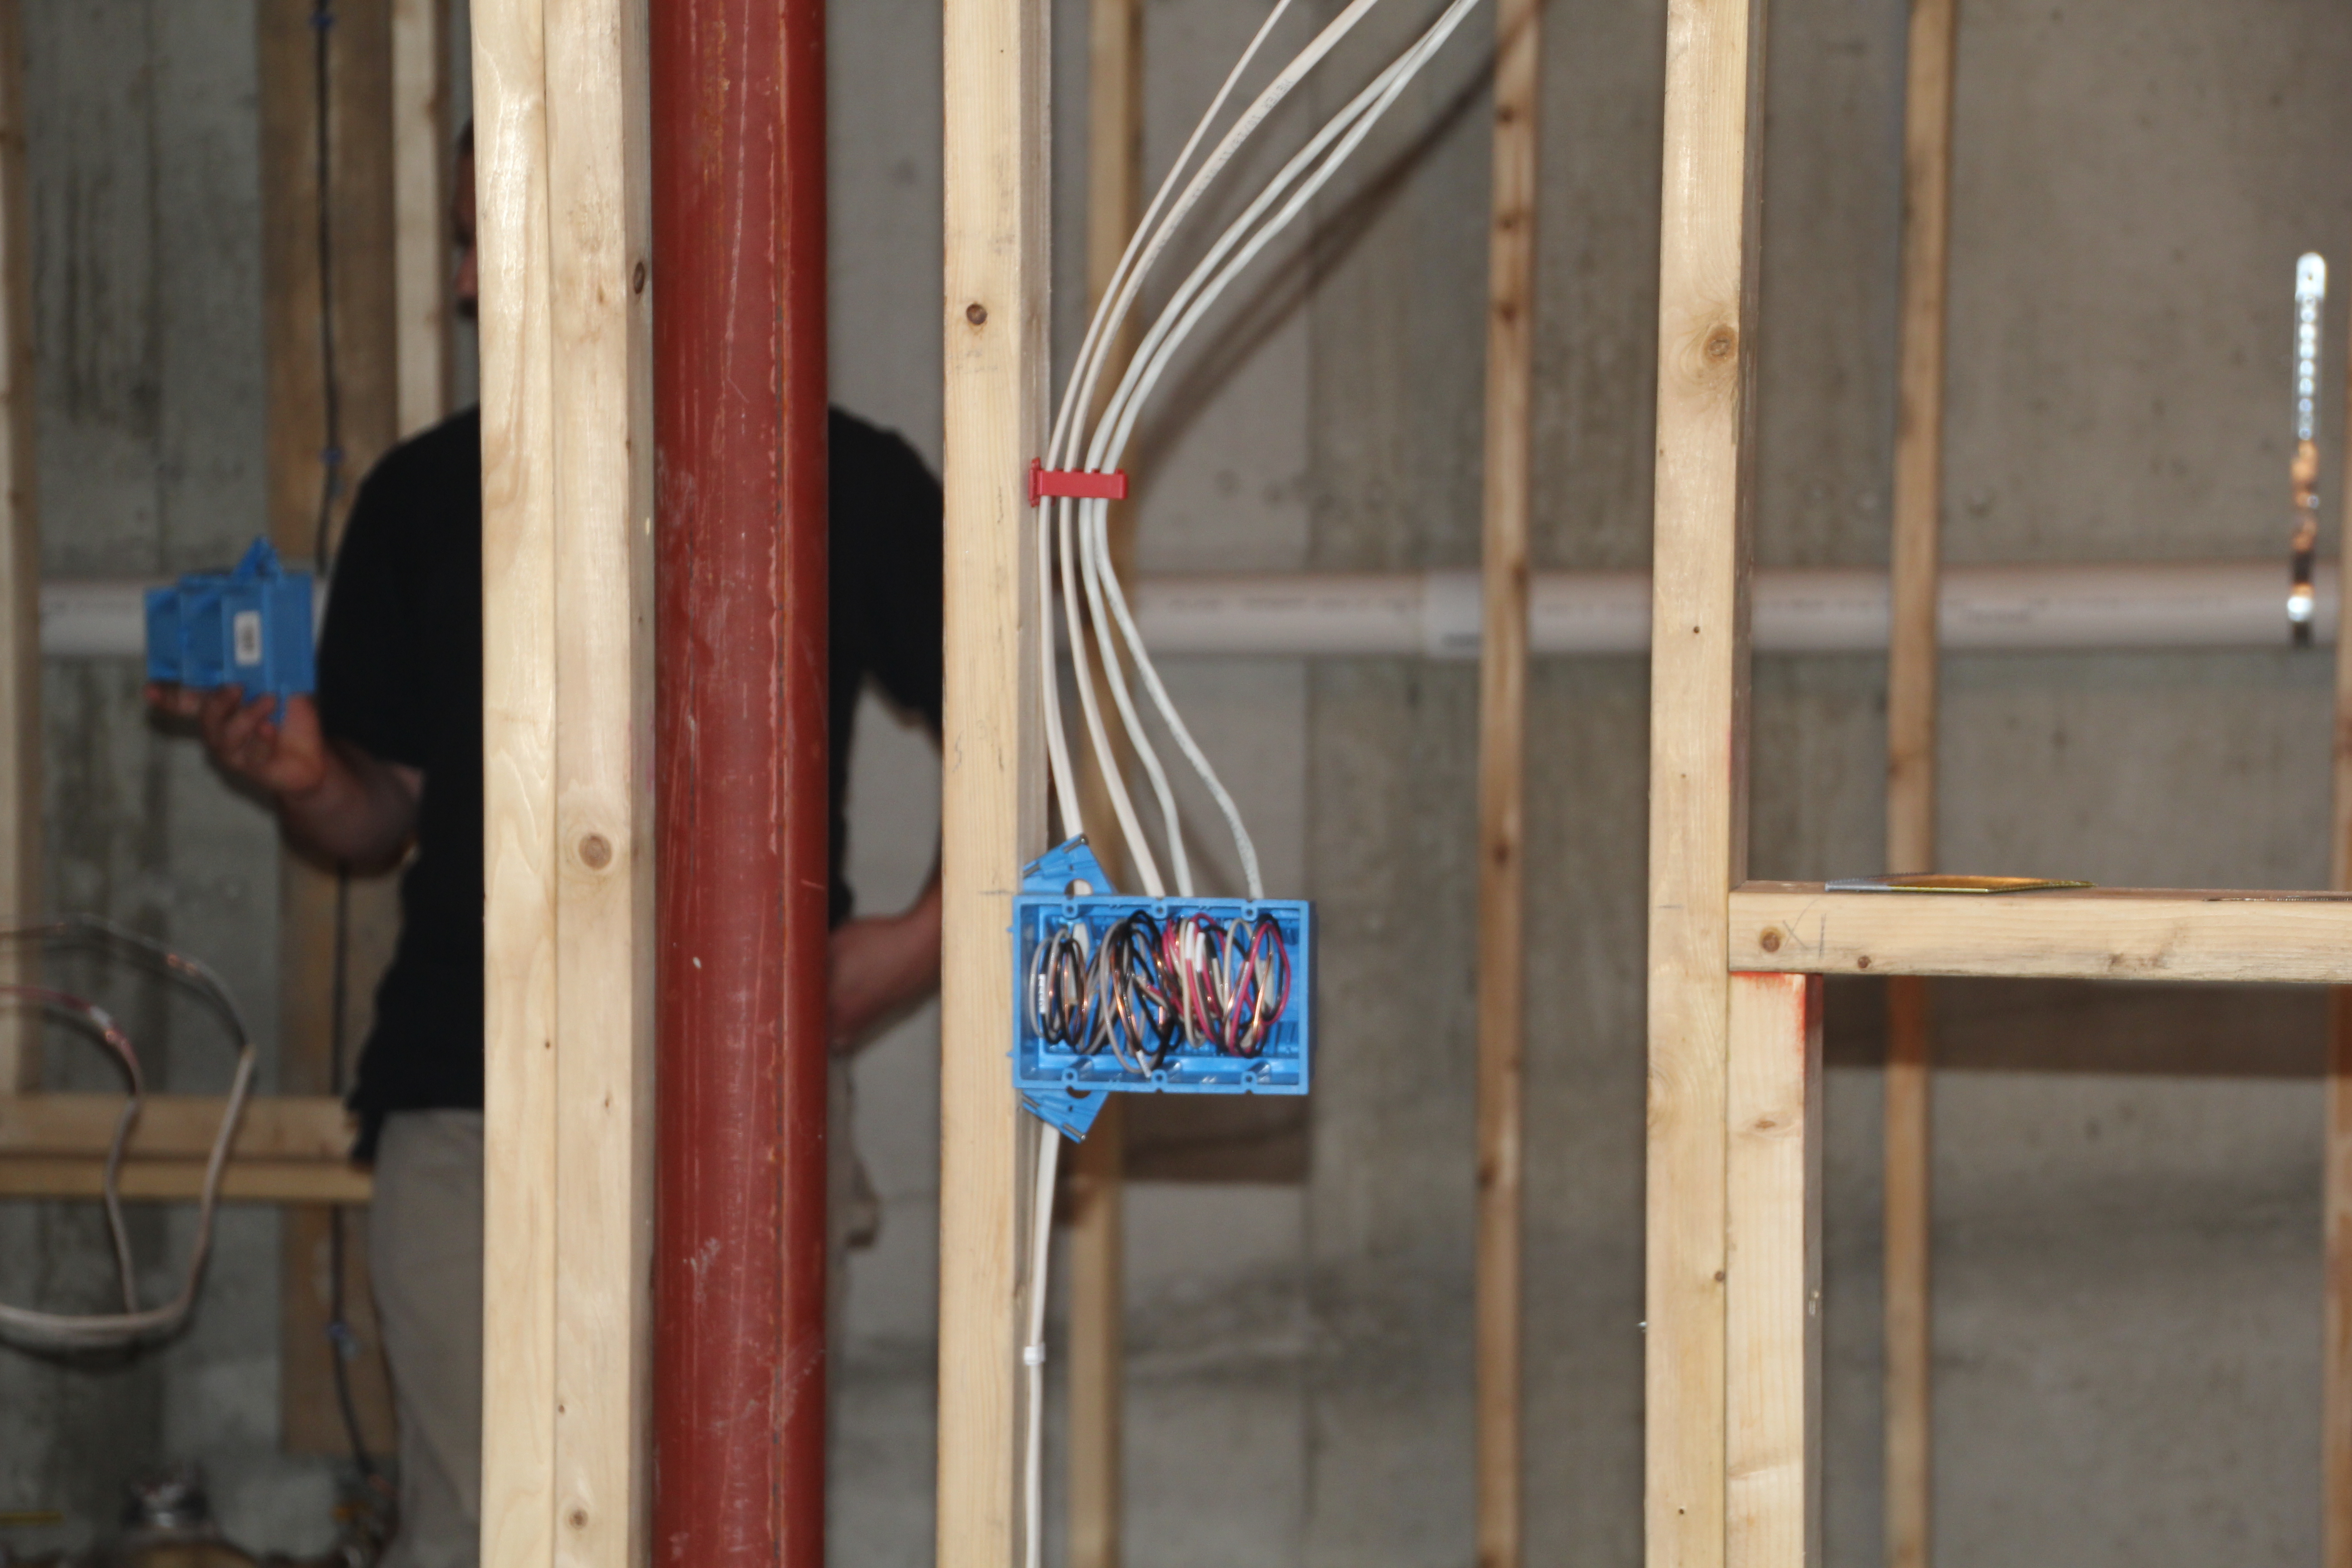
Some of the receptacles are complicated with many circuits and jobs to do.
Once the rough wiring was complete, we were ready for the insulation. We used a paper faced product that is formaldehyde free which is healthier for birds and humans alike! All interior walls were also insulated to make the room soundproof and more solid.
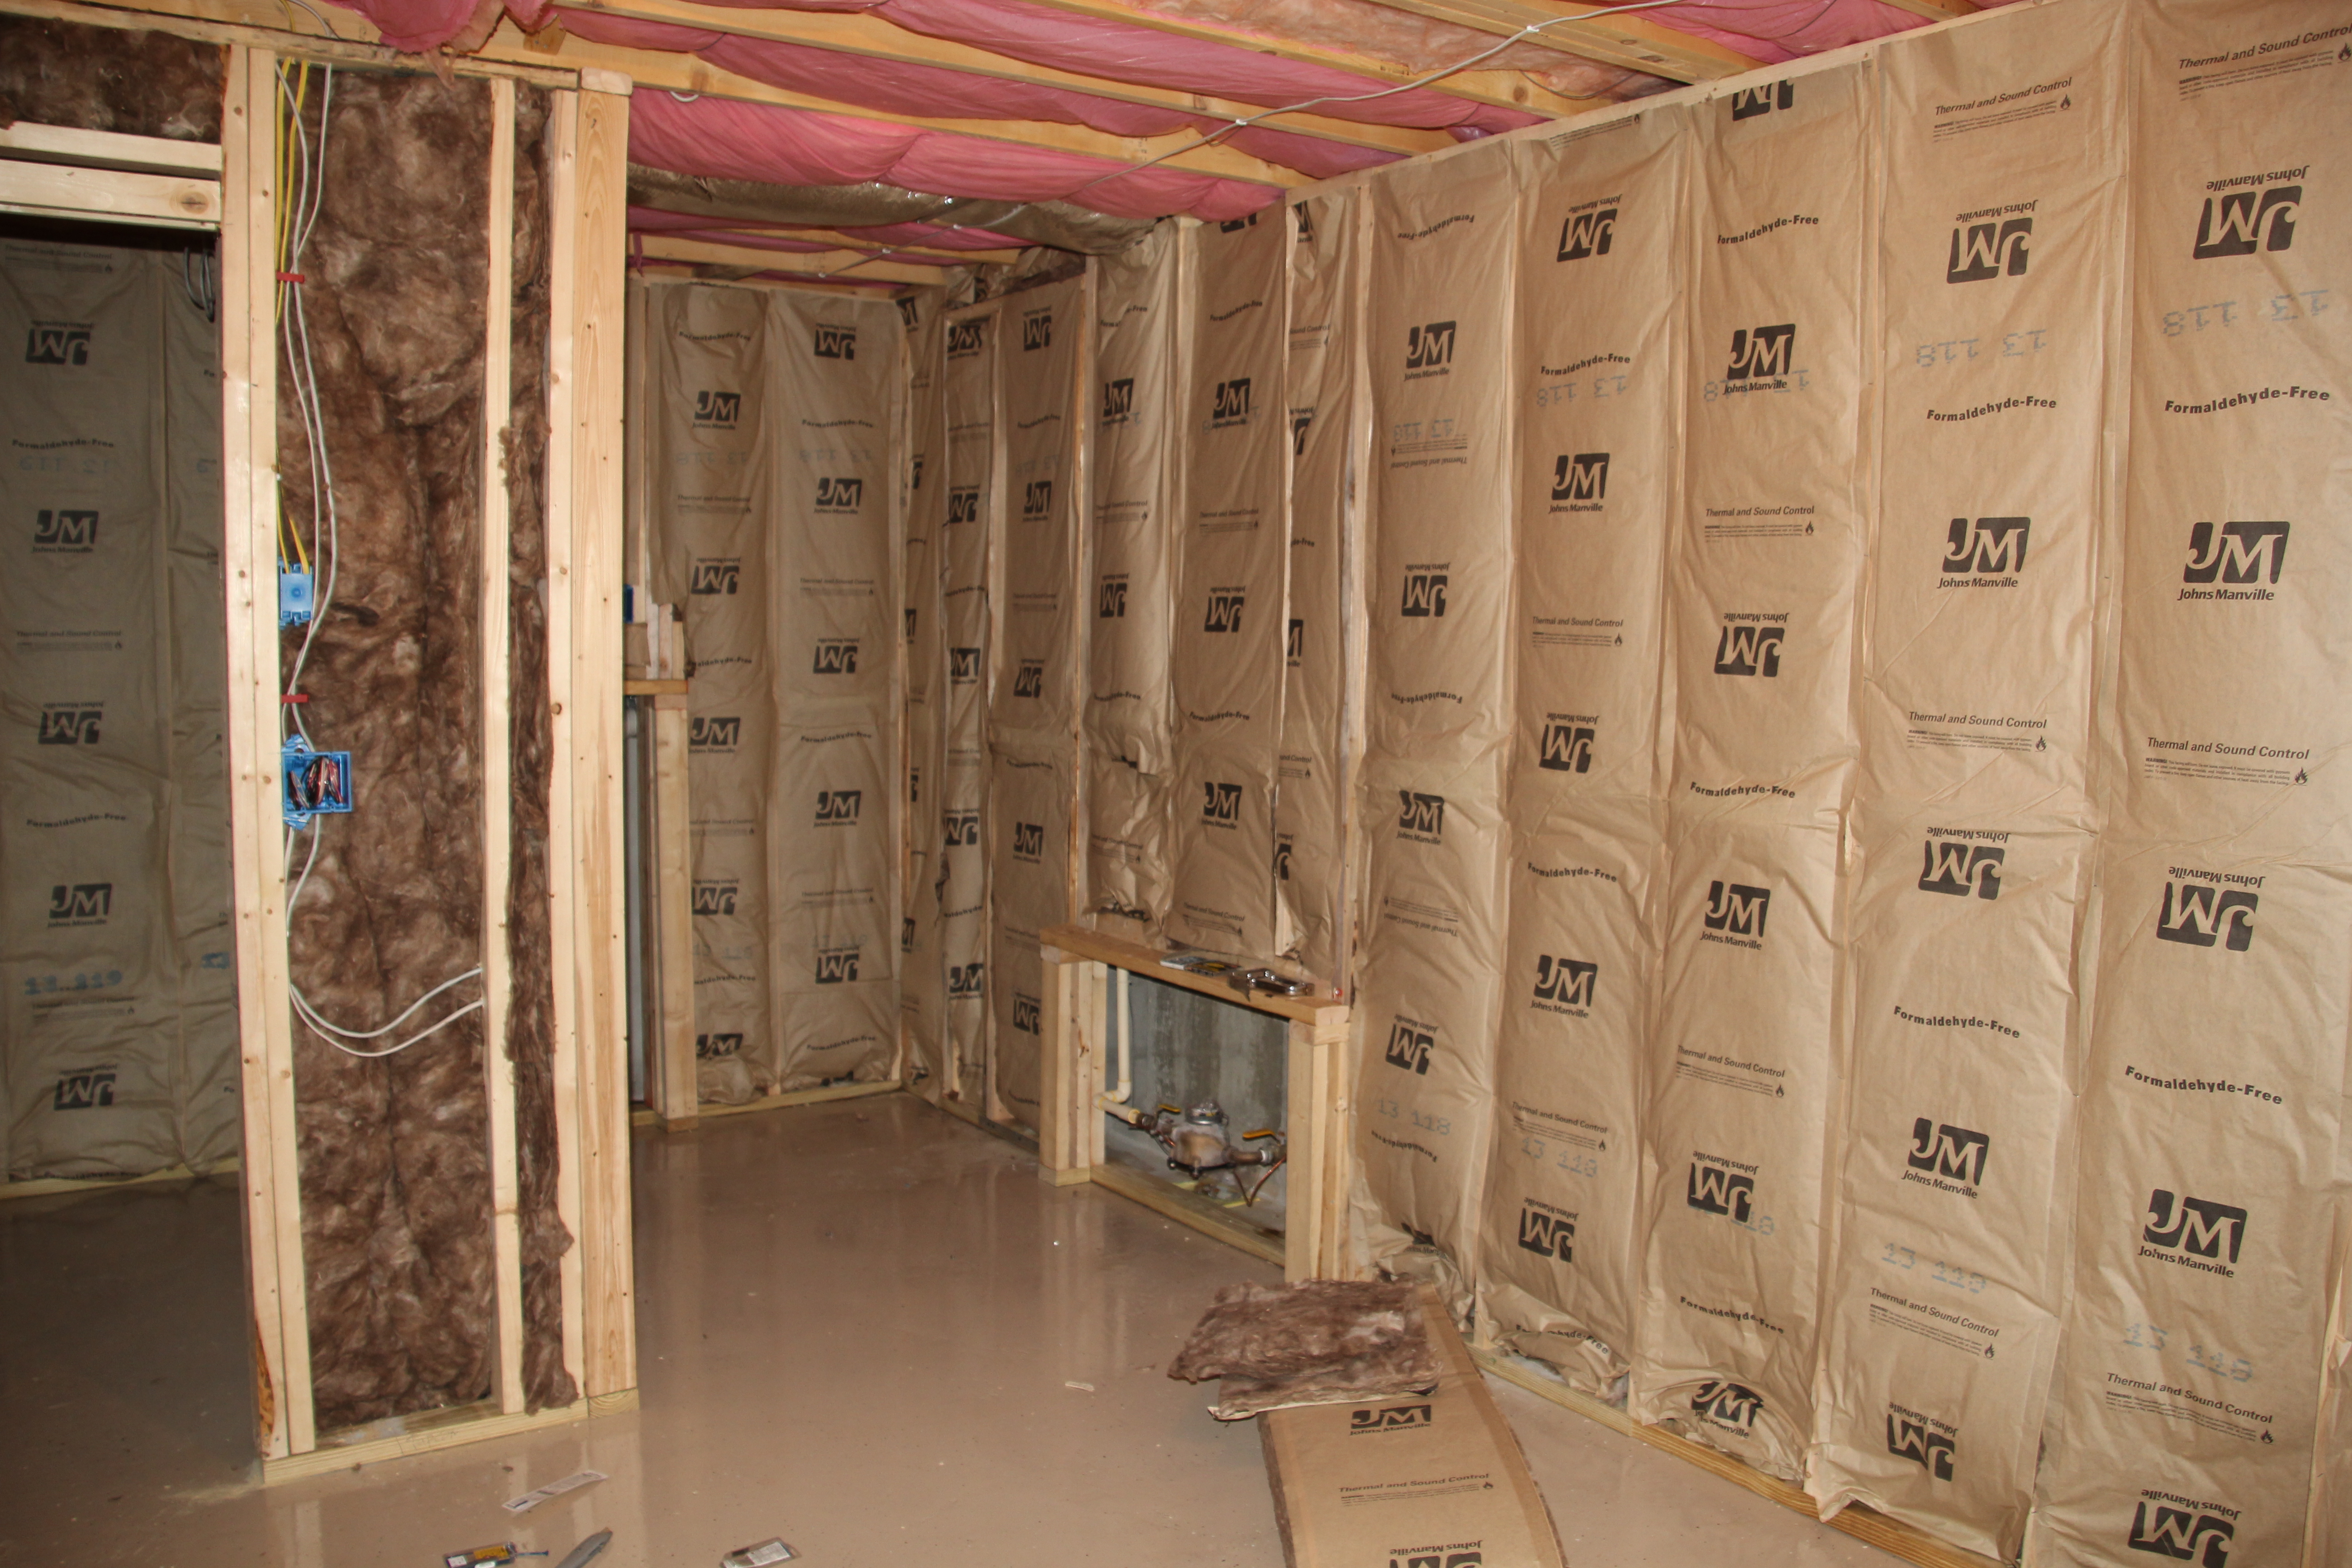
Insulated view into the food storage and workbench area.
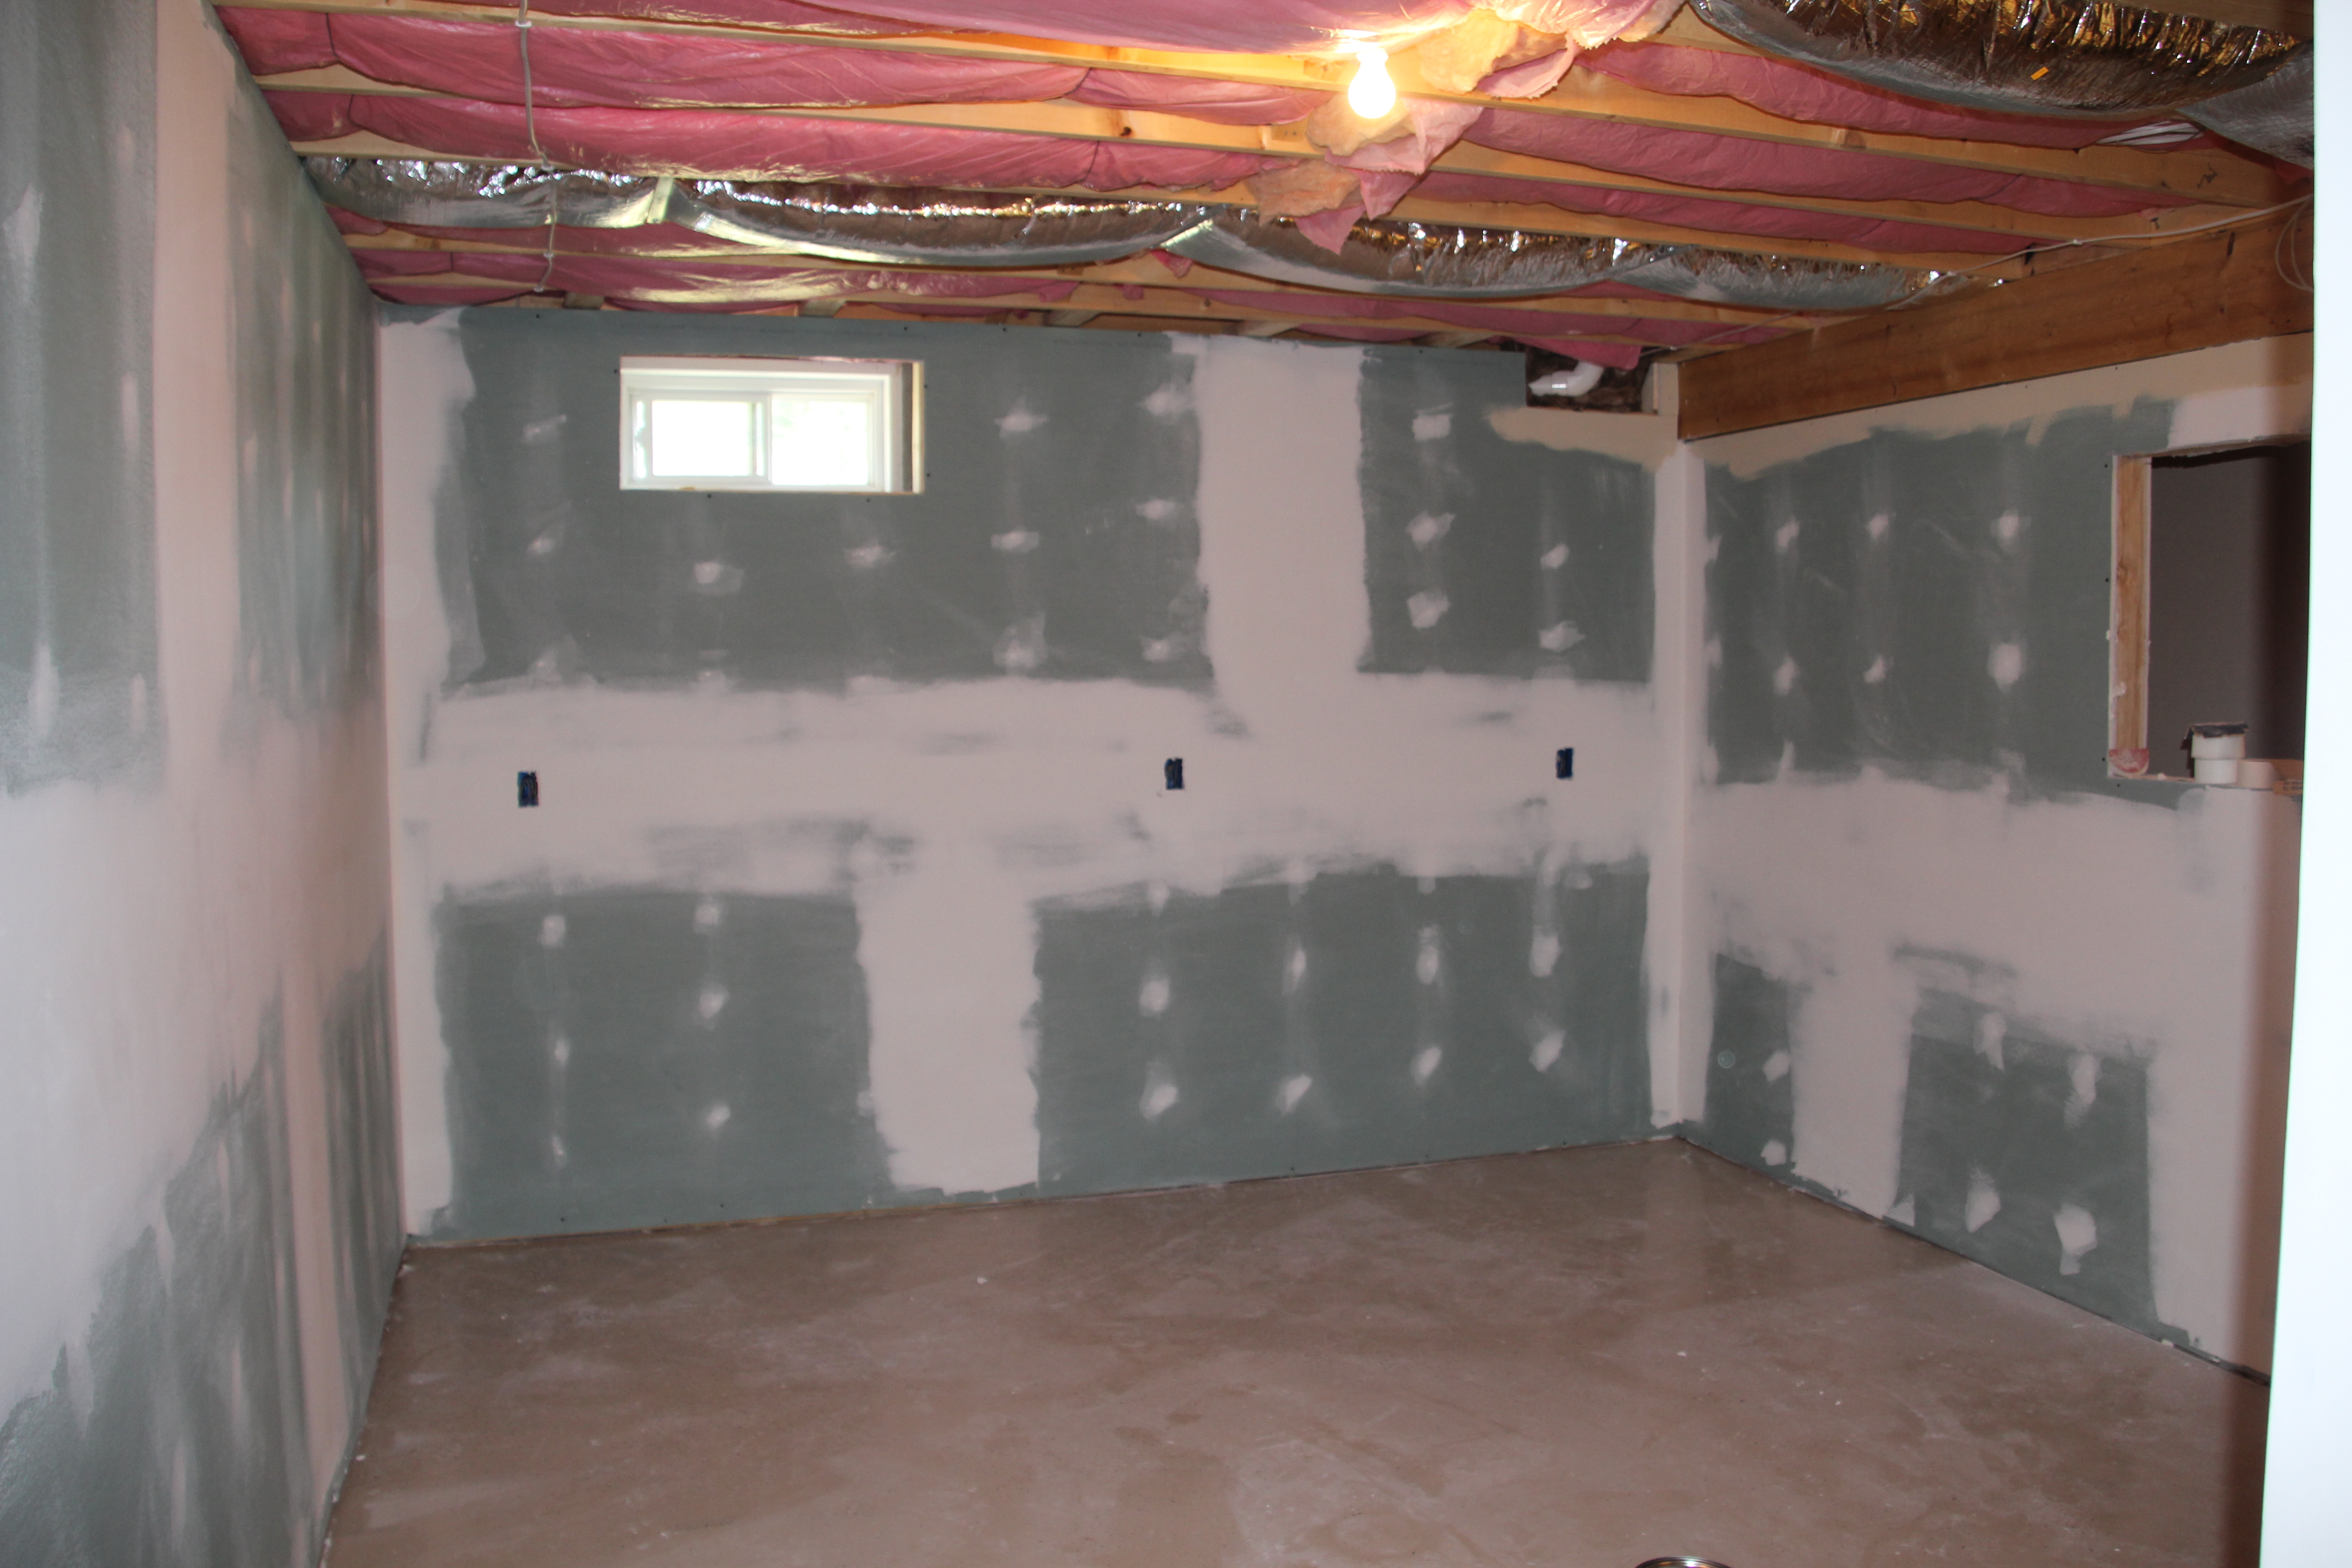
The next day we started sheetrocking. My sweetheart of a dad-in-law came to help the contractor hang the heavy MR board (moisture resistant).
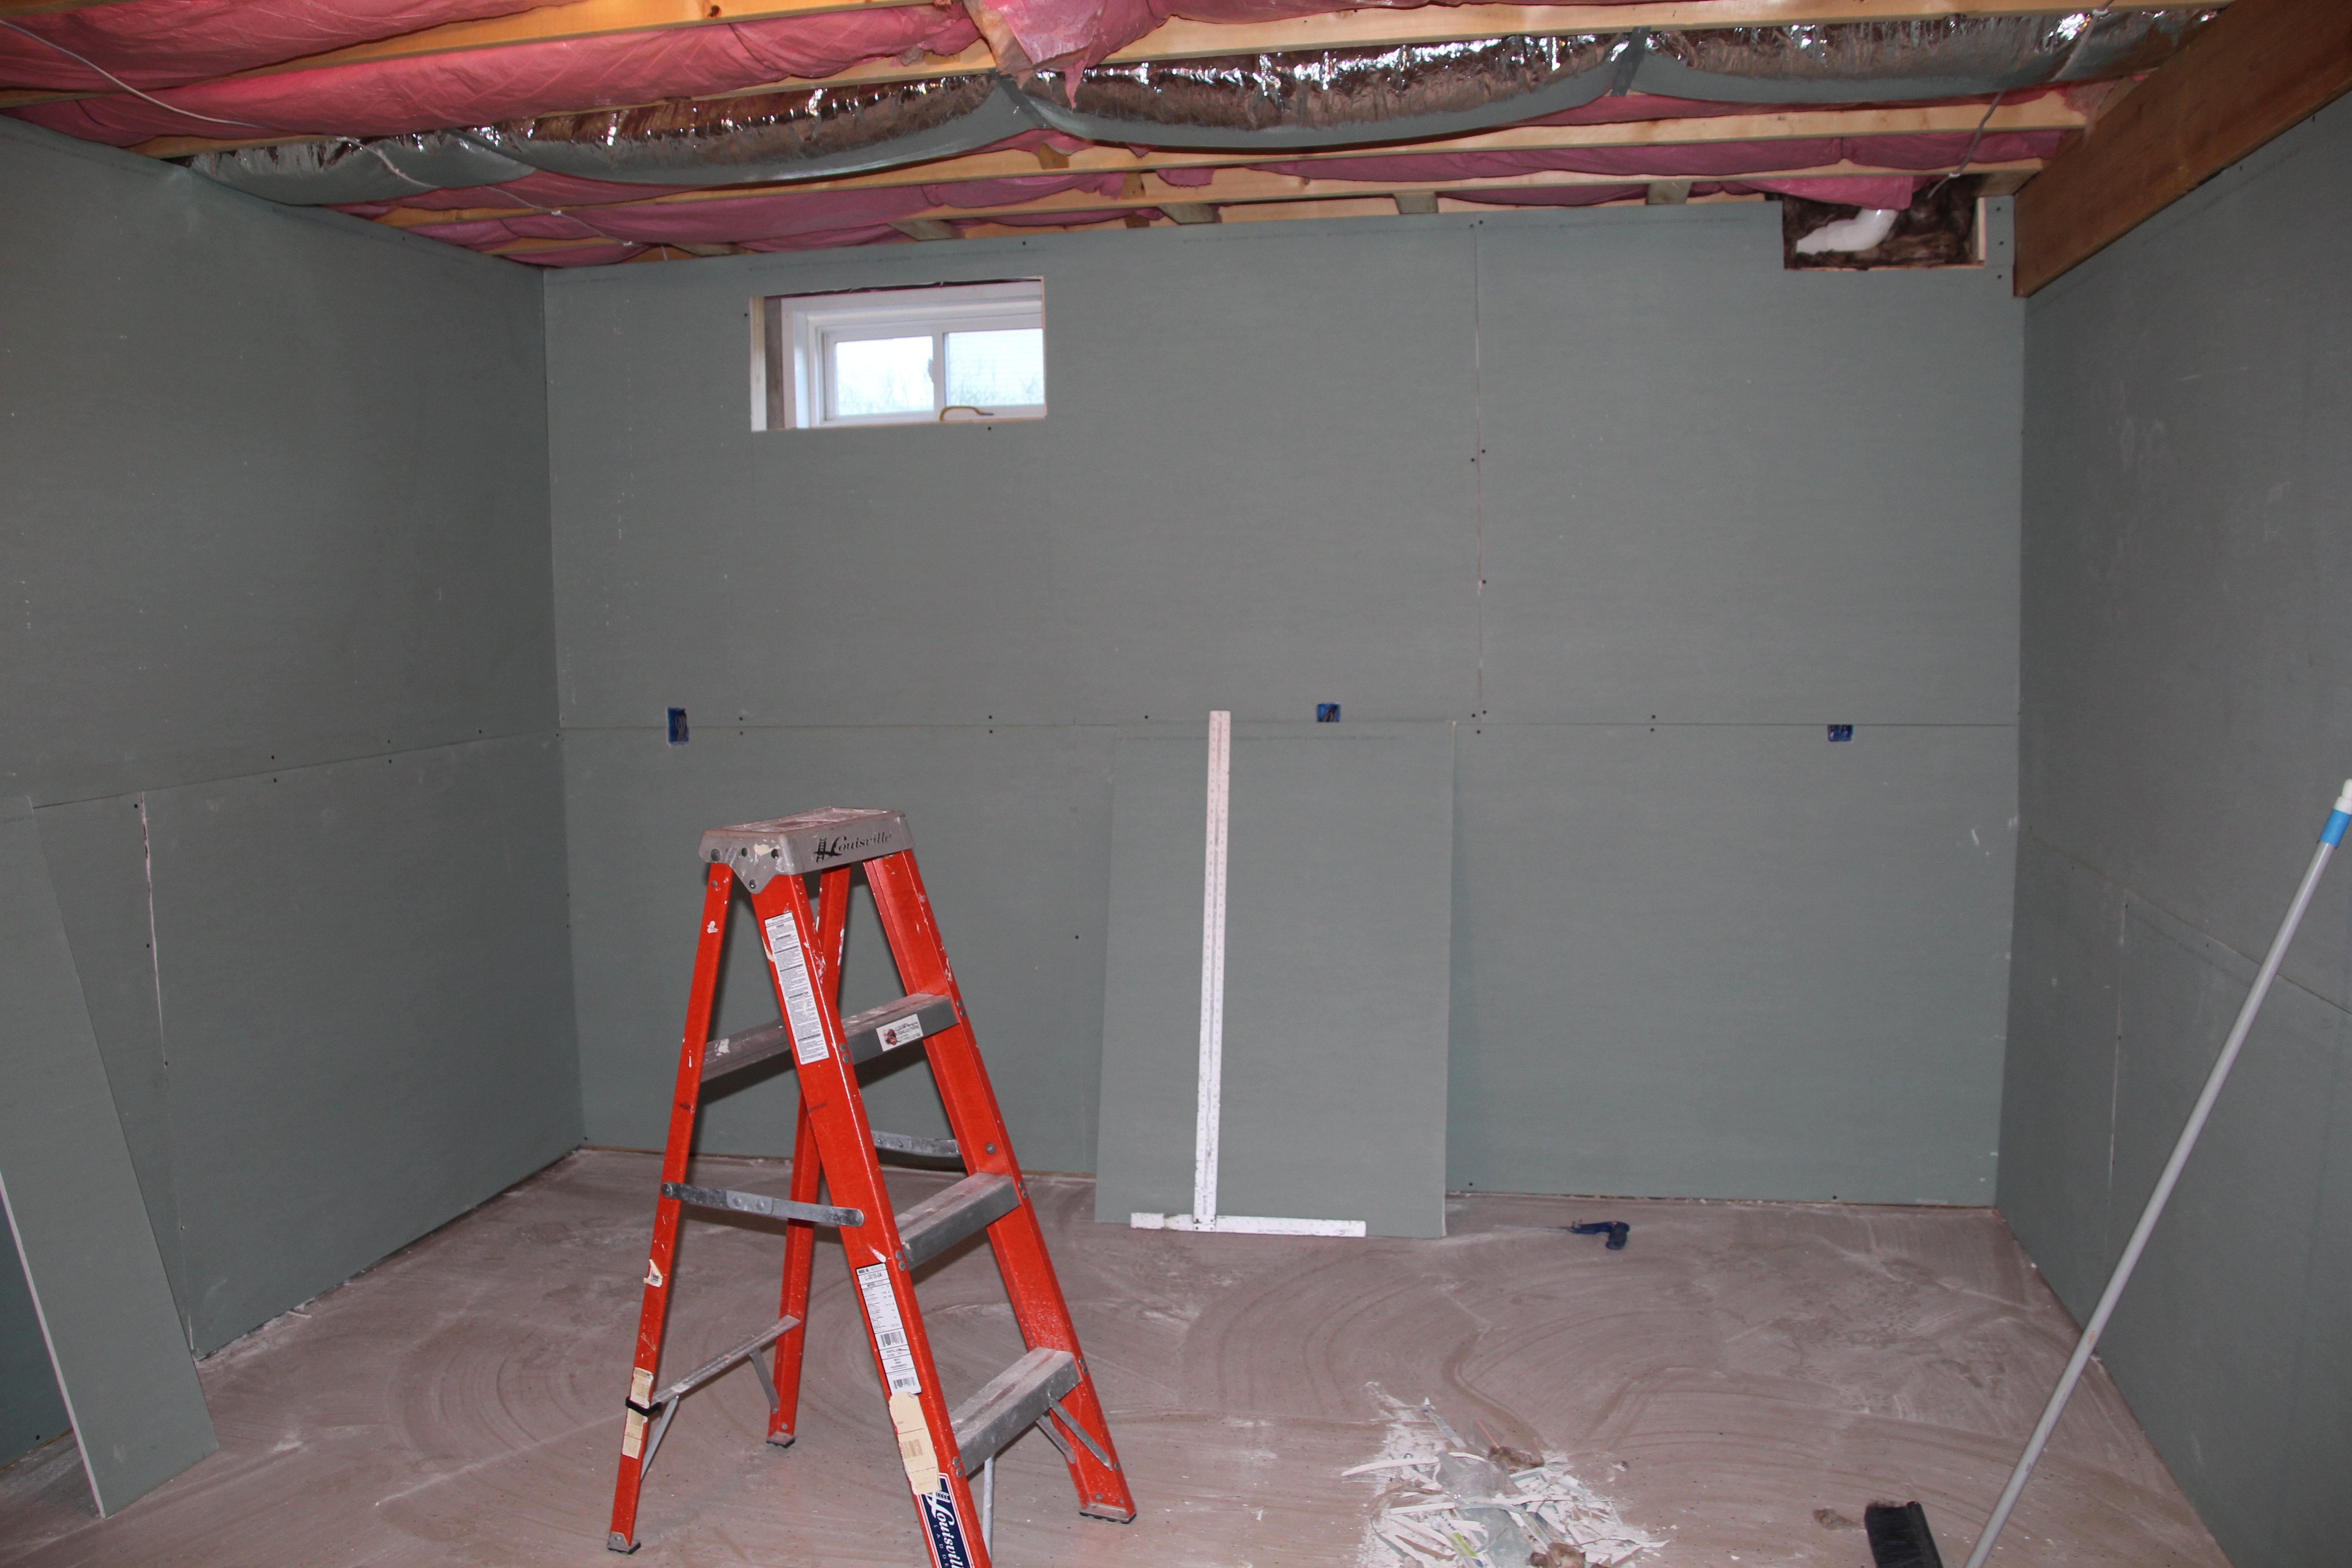
View to the back wall… this is where the future flights will be built. This wall looks small in this photo now that it is closed in with sheetrock, but is a bit over 12 feet wide.
The window seen in the upper left corner of the room will be used as a way for the birds to make it out into the outdoor aviary (2016-2017 project). This window will be boxed in on the inside with Azek board for easy cleaning.
© COPYRIGHT 2015 Eddie’s Aviary
Mud and tape done and ready for paint and trim!
We used a fabulous paint made by California Paints called “Super Scrub” in an eggshell finish for the walls. It applied as smooth as silk and offered fabulous coverage. We did 2-3 coats to make sure it stands up to all the future cleaning and scrubbing.
© COPYRIGHT 2015 Eddie’s Aviary
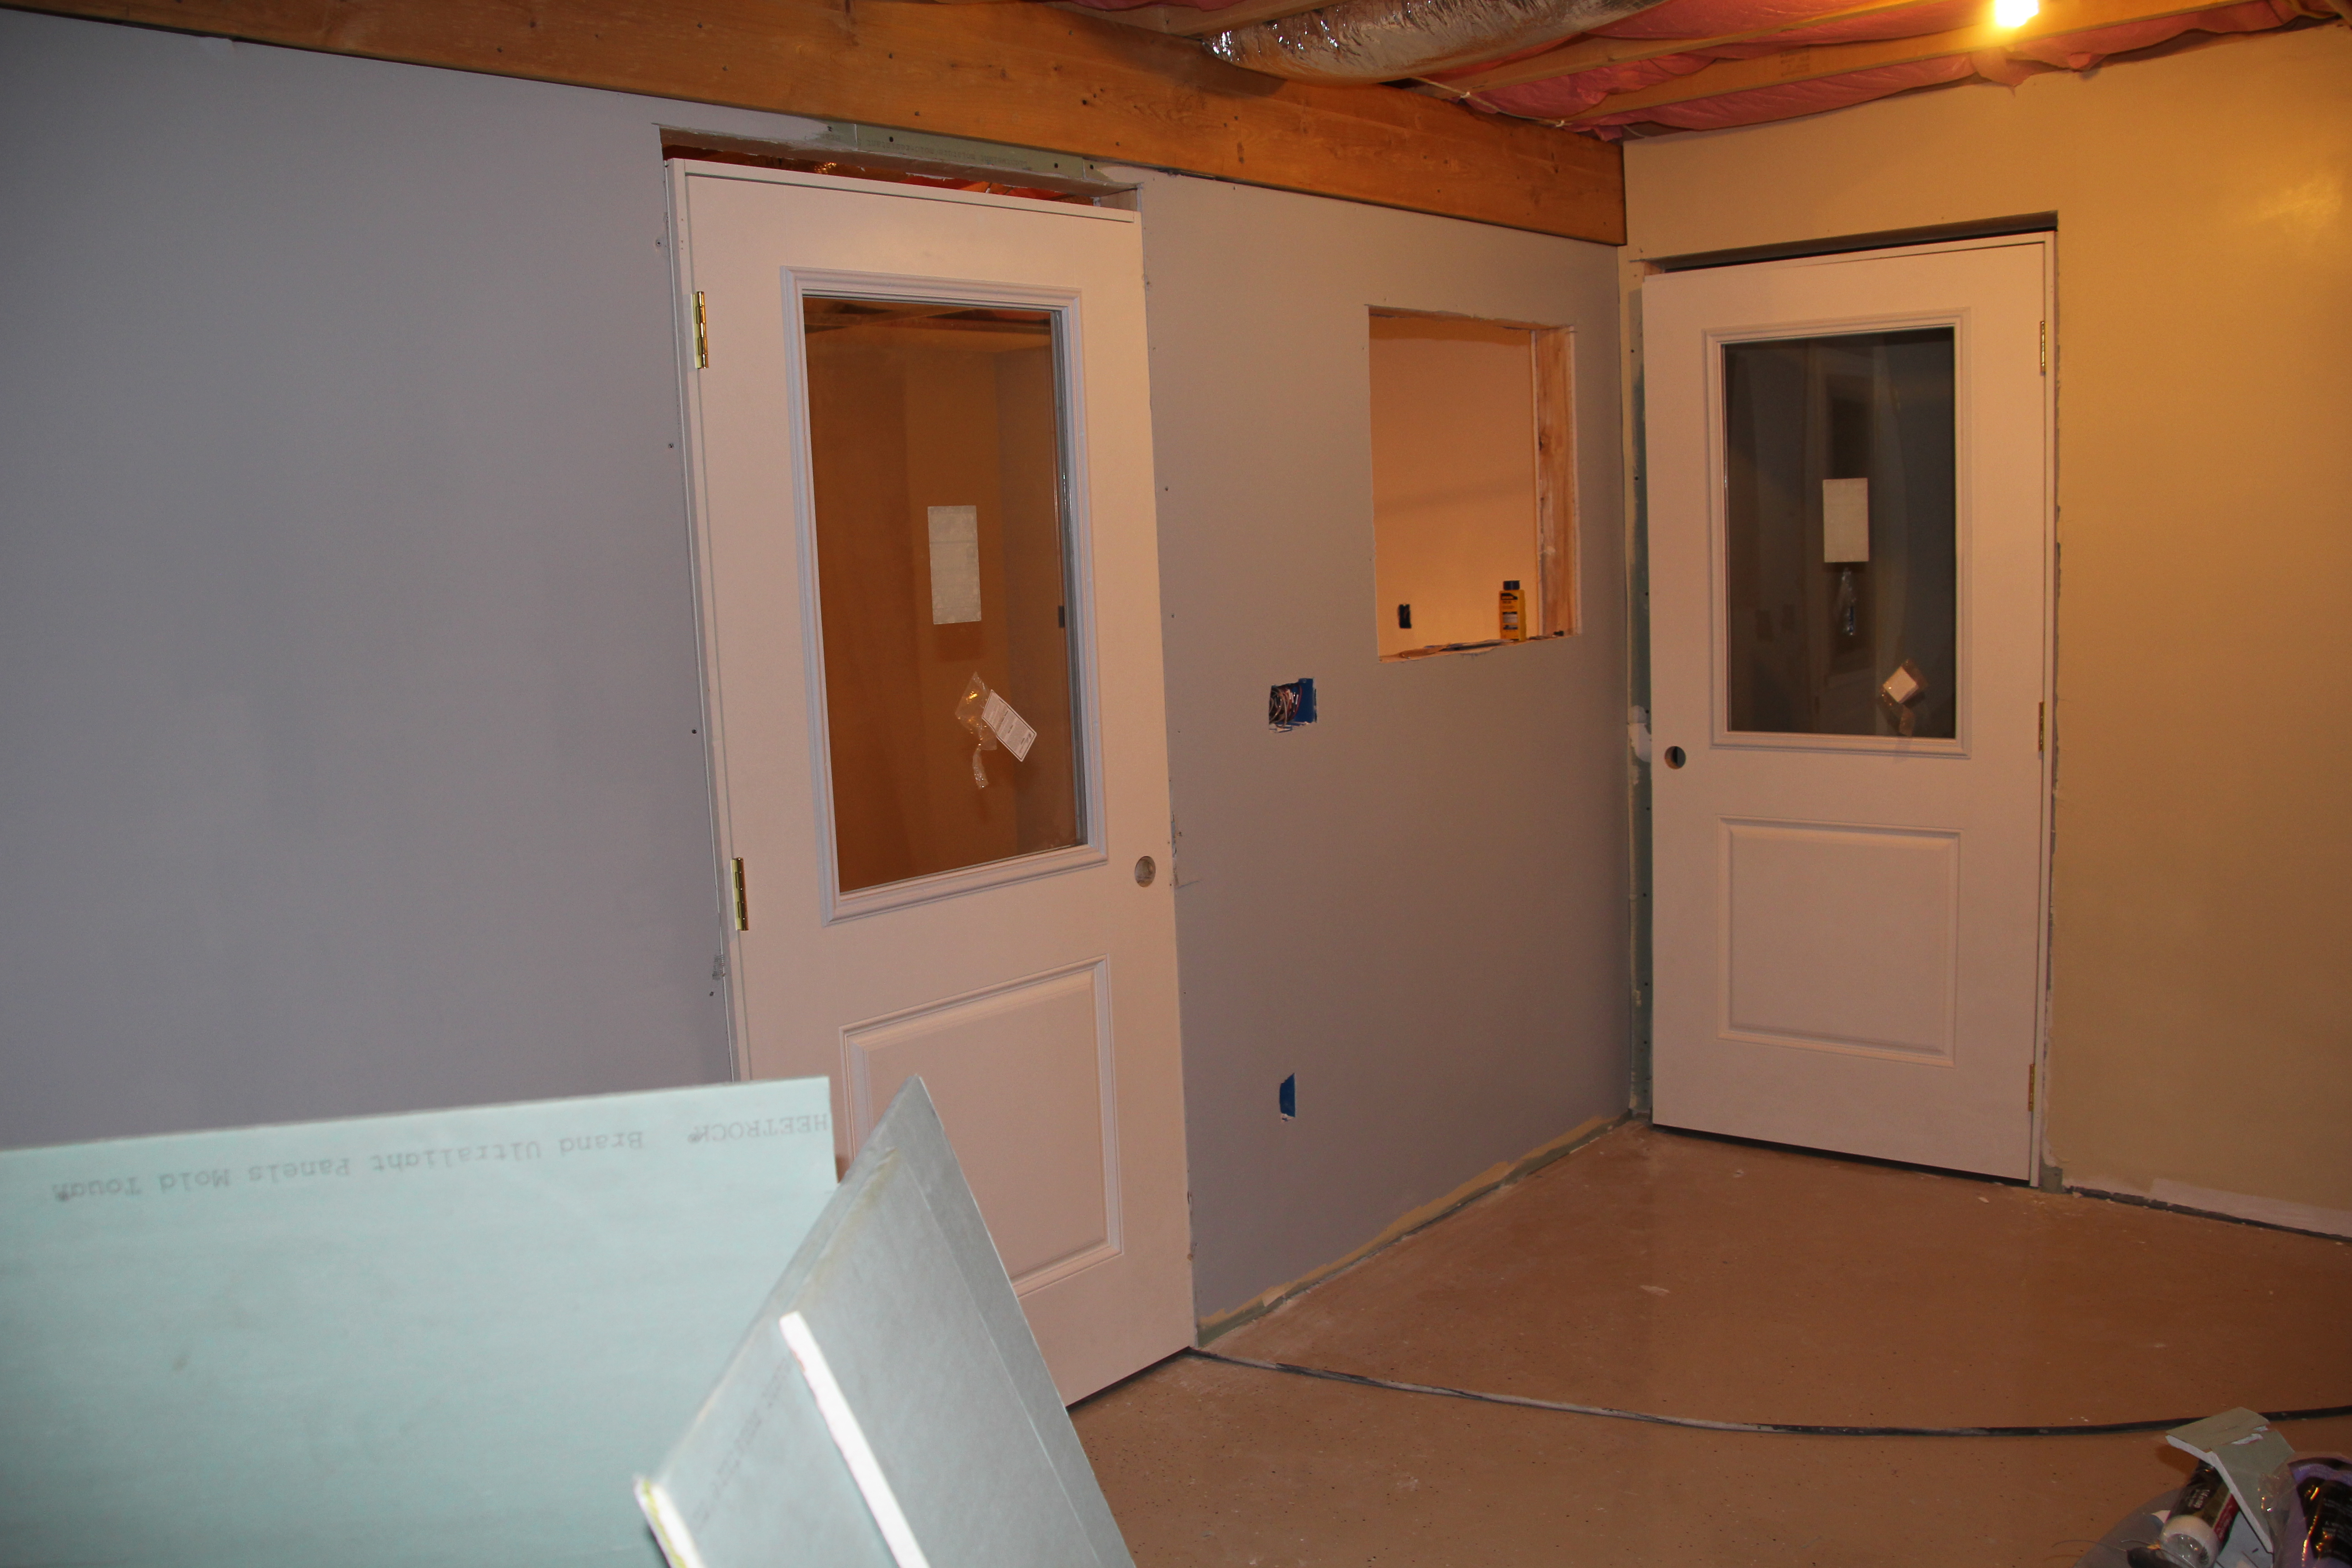
View from outside the aviary of entry door and quarantine room
© COPYRIGHT 2015 Eddie’s Aviary
Breeding room got a solid wood door in “pocket” style.
For the baseboard trim we used Azek as it is impervious to moisture, and doesn’t need paint. The trim for the doors and windows is a solid PVC similar material product.
We purchased wooden screen doors that warped just from priming them! So those were sent back and we decided on these vinyl screen doors that are very stable, and don’t need paint!
© COPYRIGHT 2015 Eddie’s Aviary
First Flight Door installed
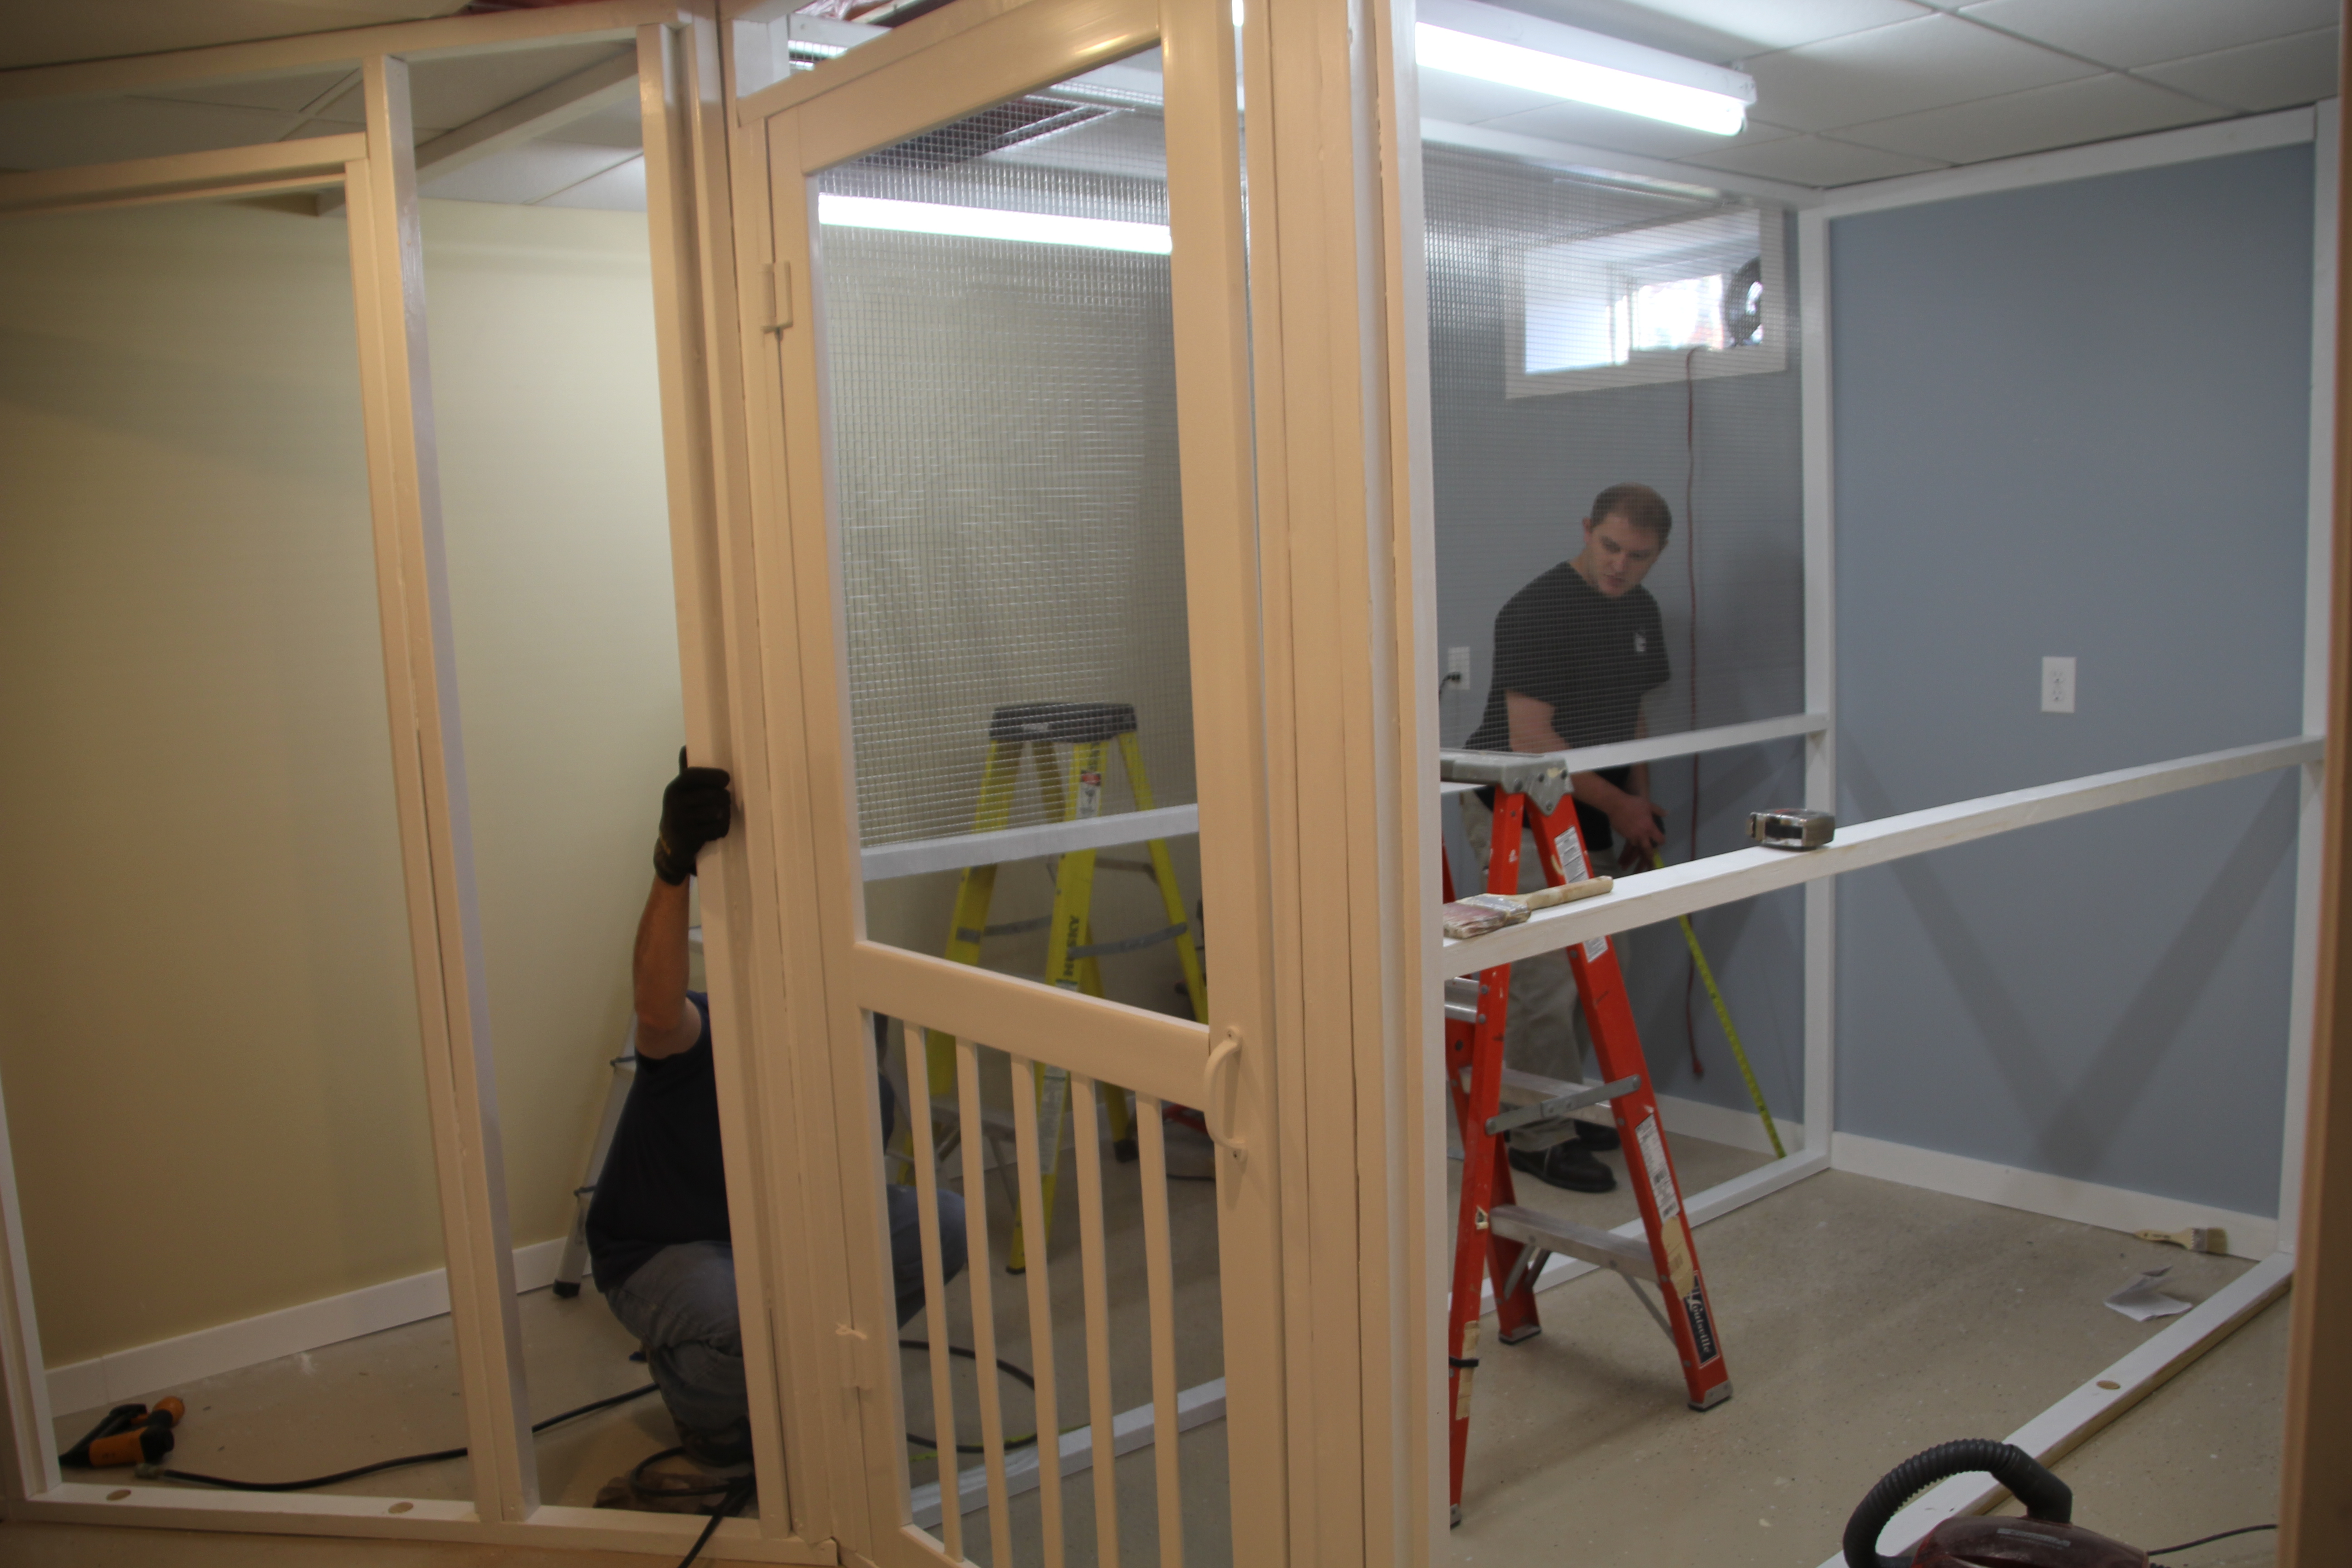
Now that the walls are painted, flights framed and painted and all the trim is installed, we get to put the wire in! We chose a stainless steel (for bird safety and product longevity) in 1/2′ x 1/2″ welded mesh, in a heavy 16 gauge thickness. It was able to be cut with a pair of hand dykes.
© COPYRIGHT 2015 Eddie’s Aviary
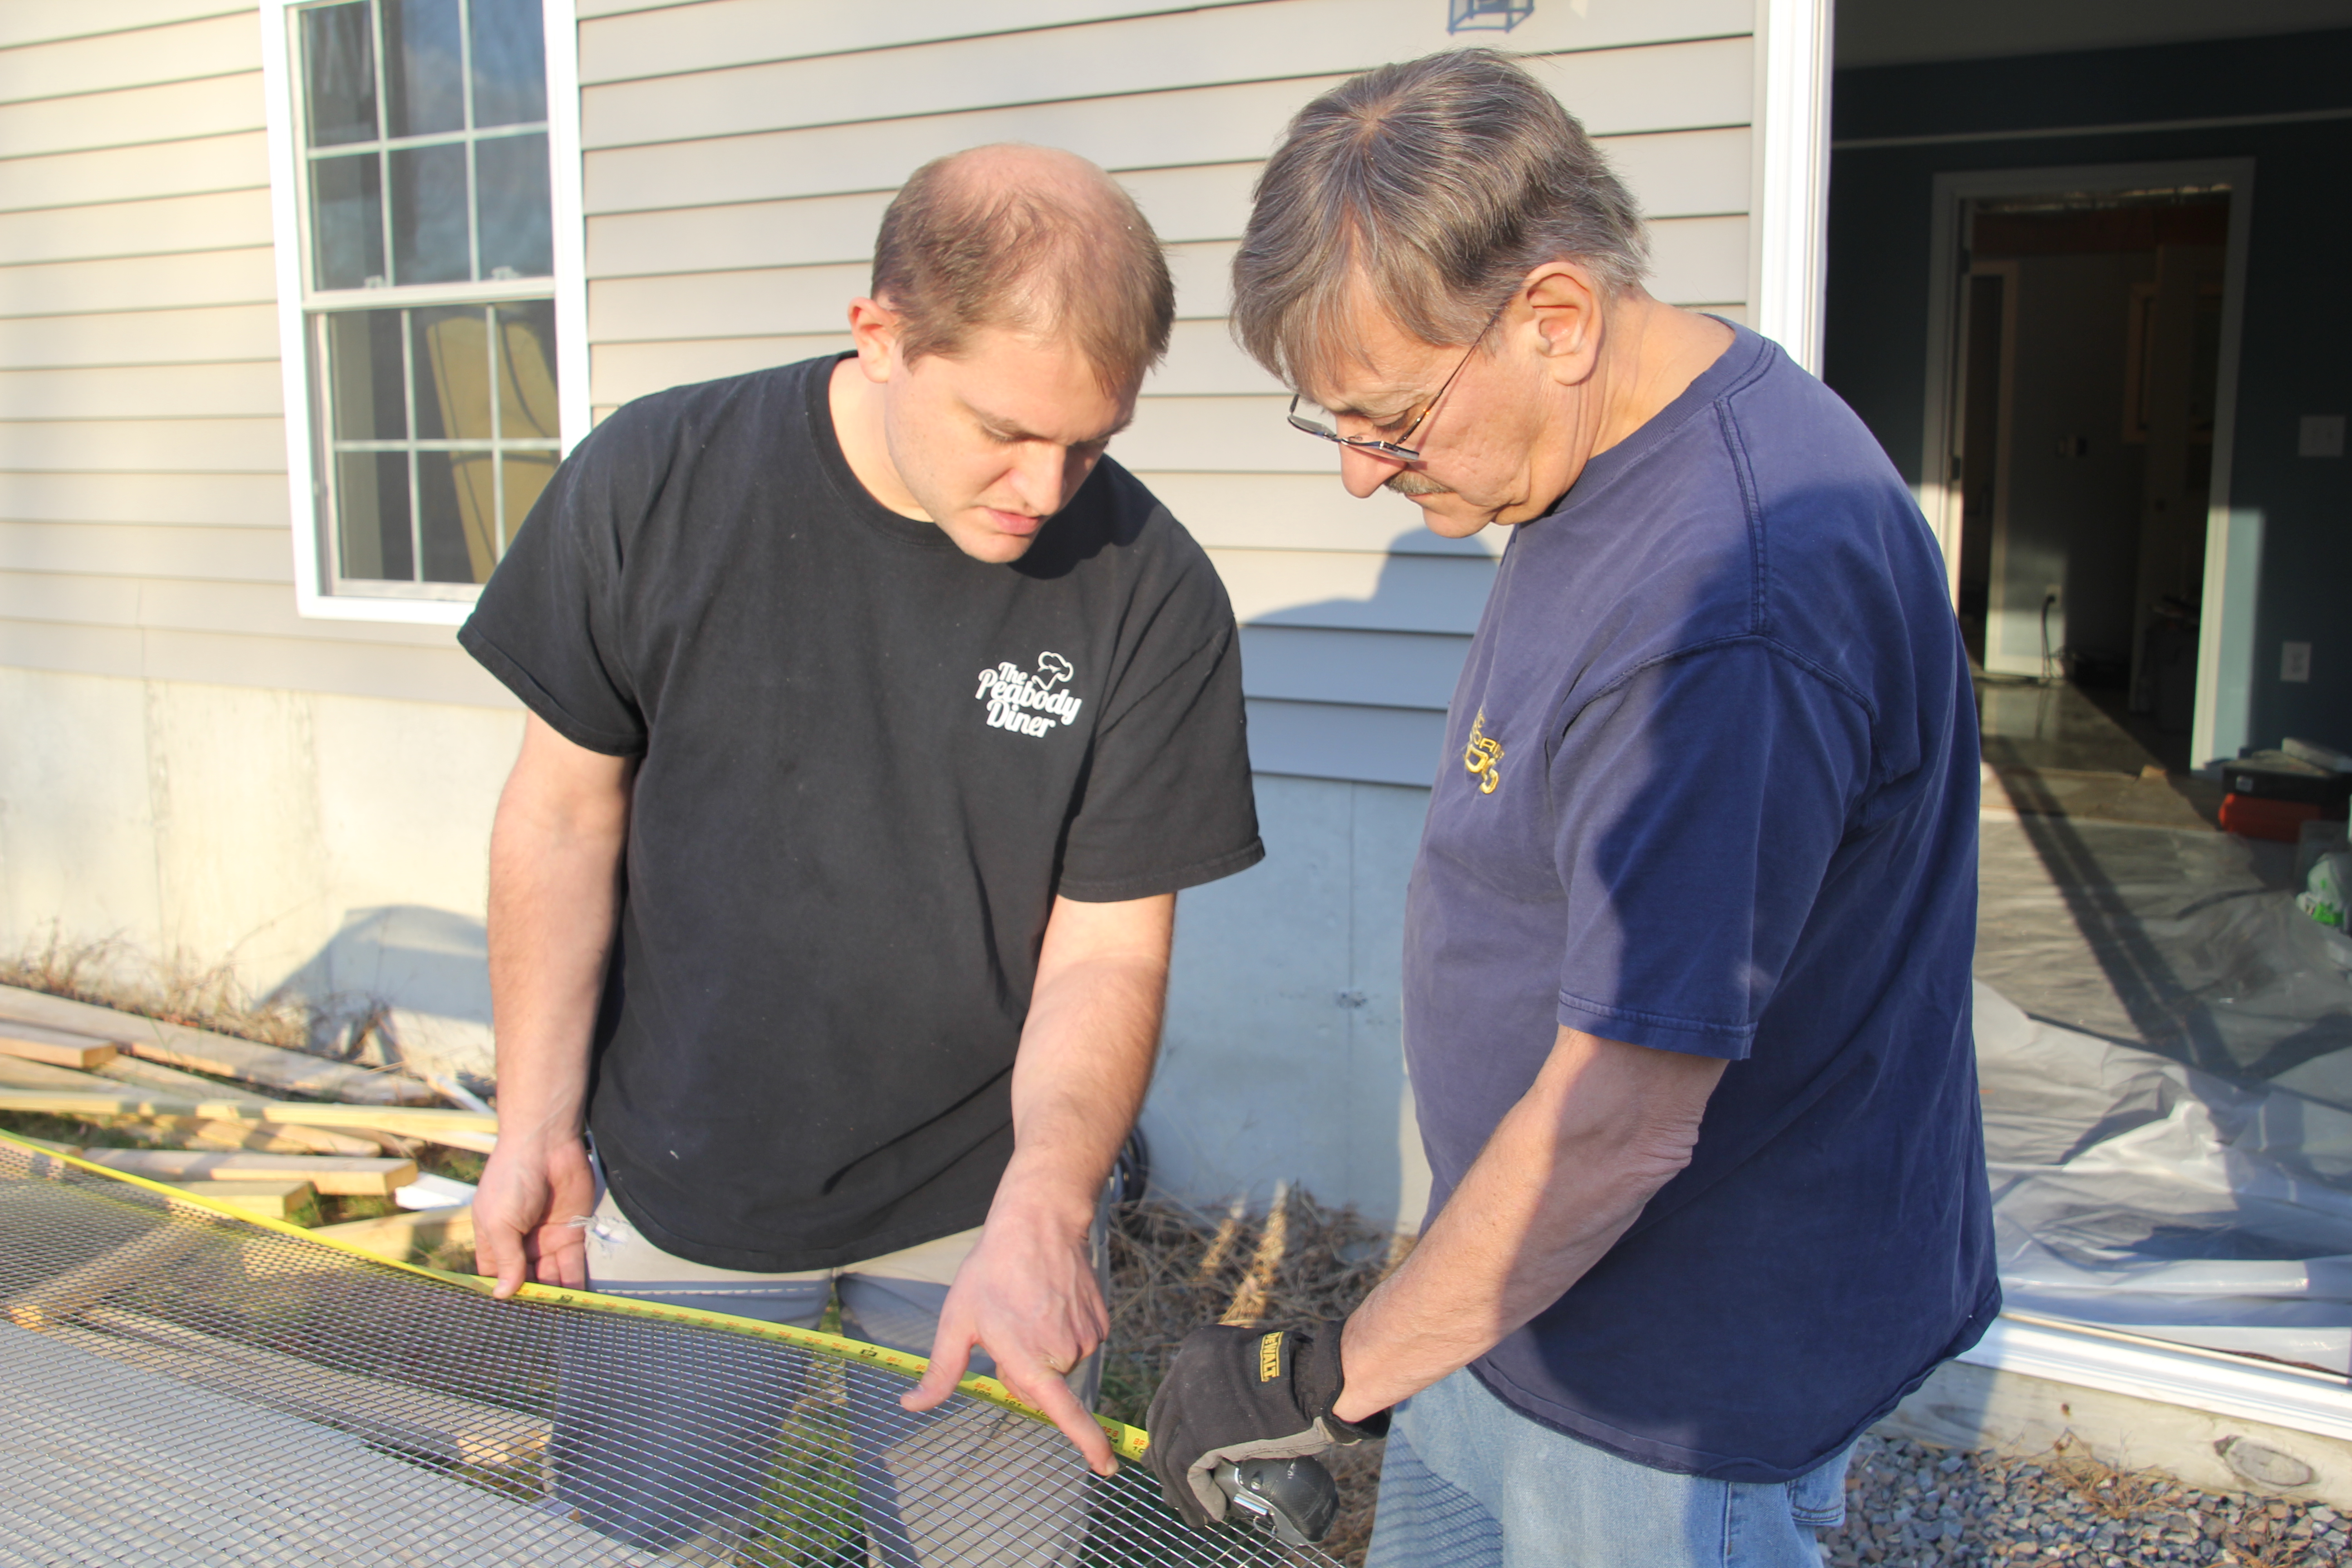
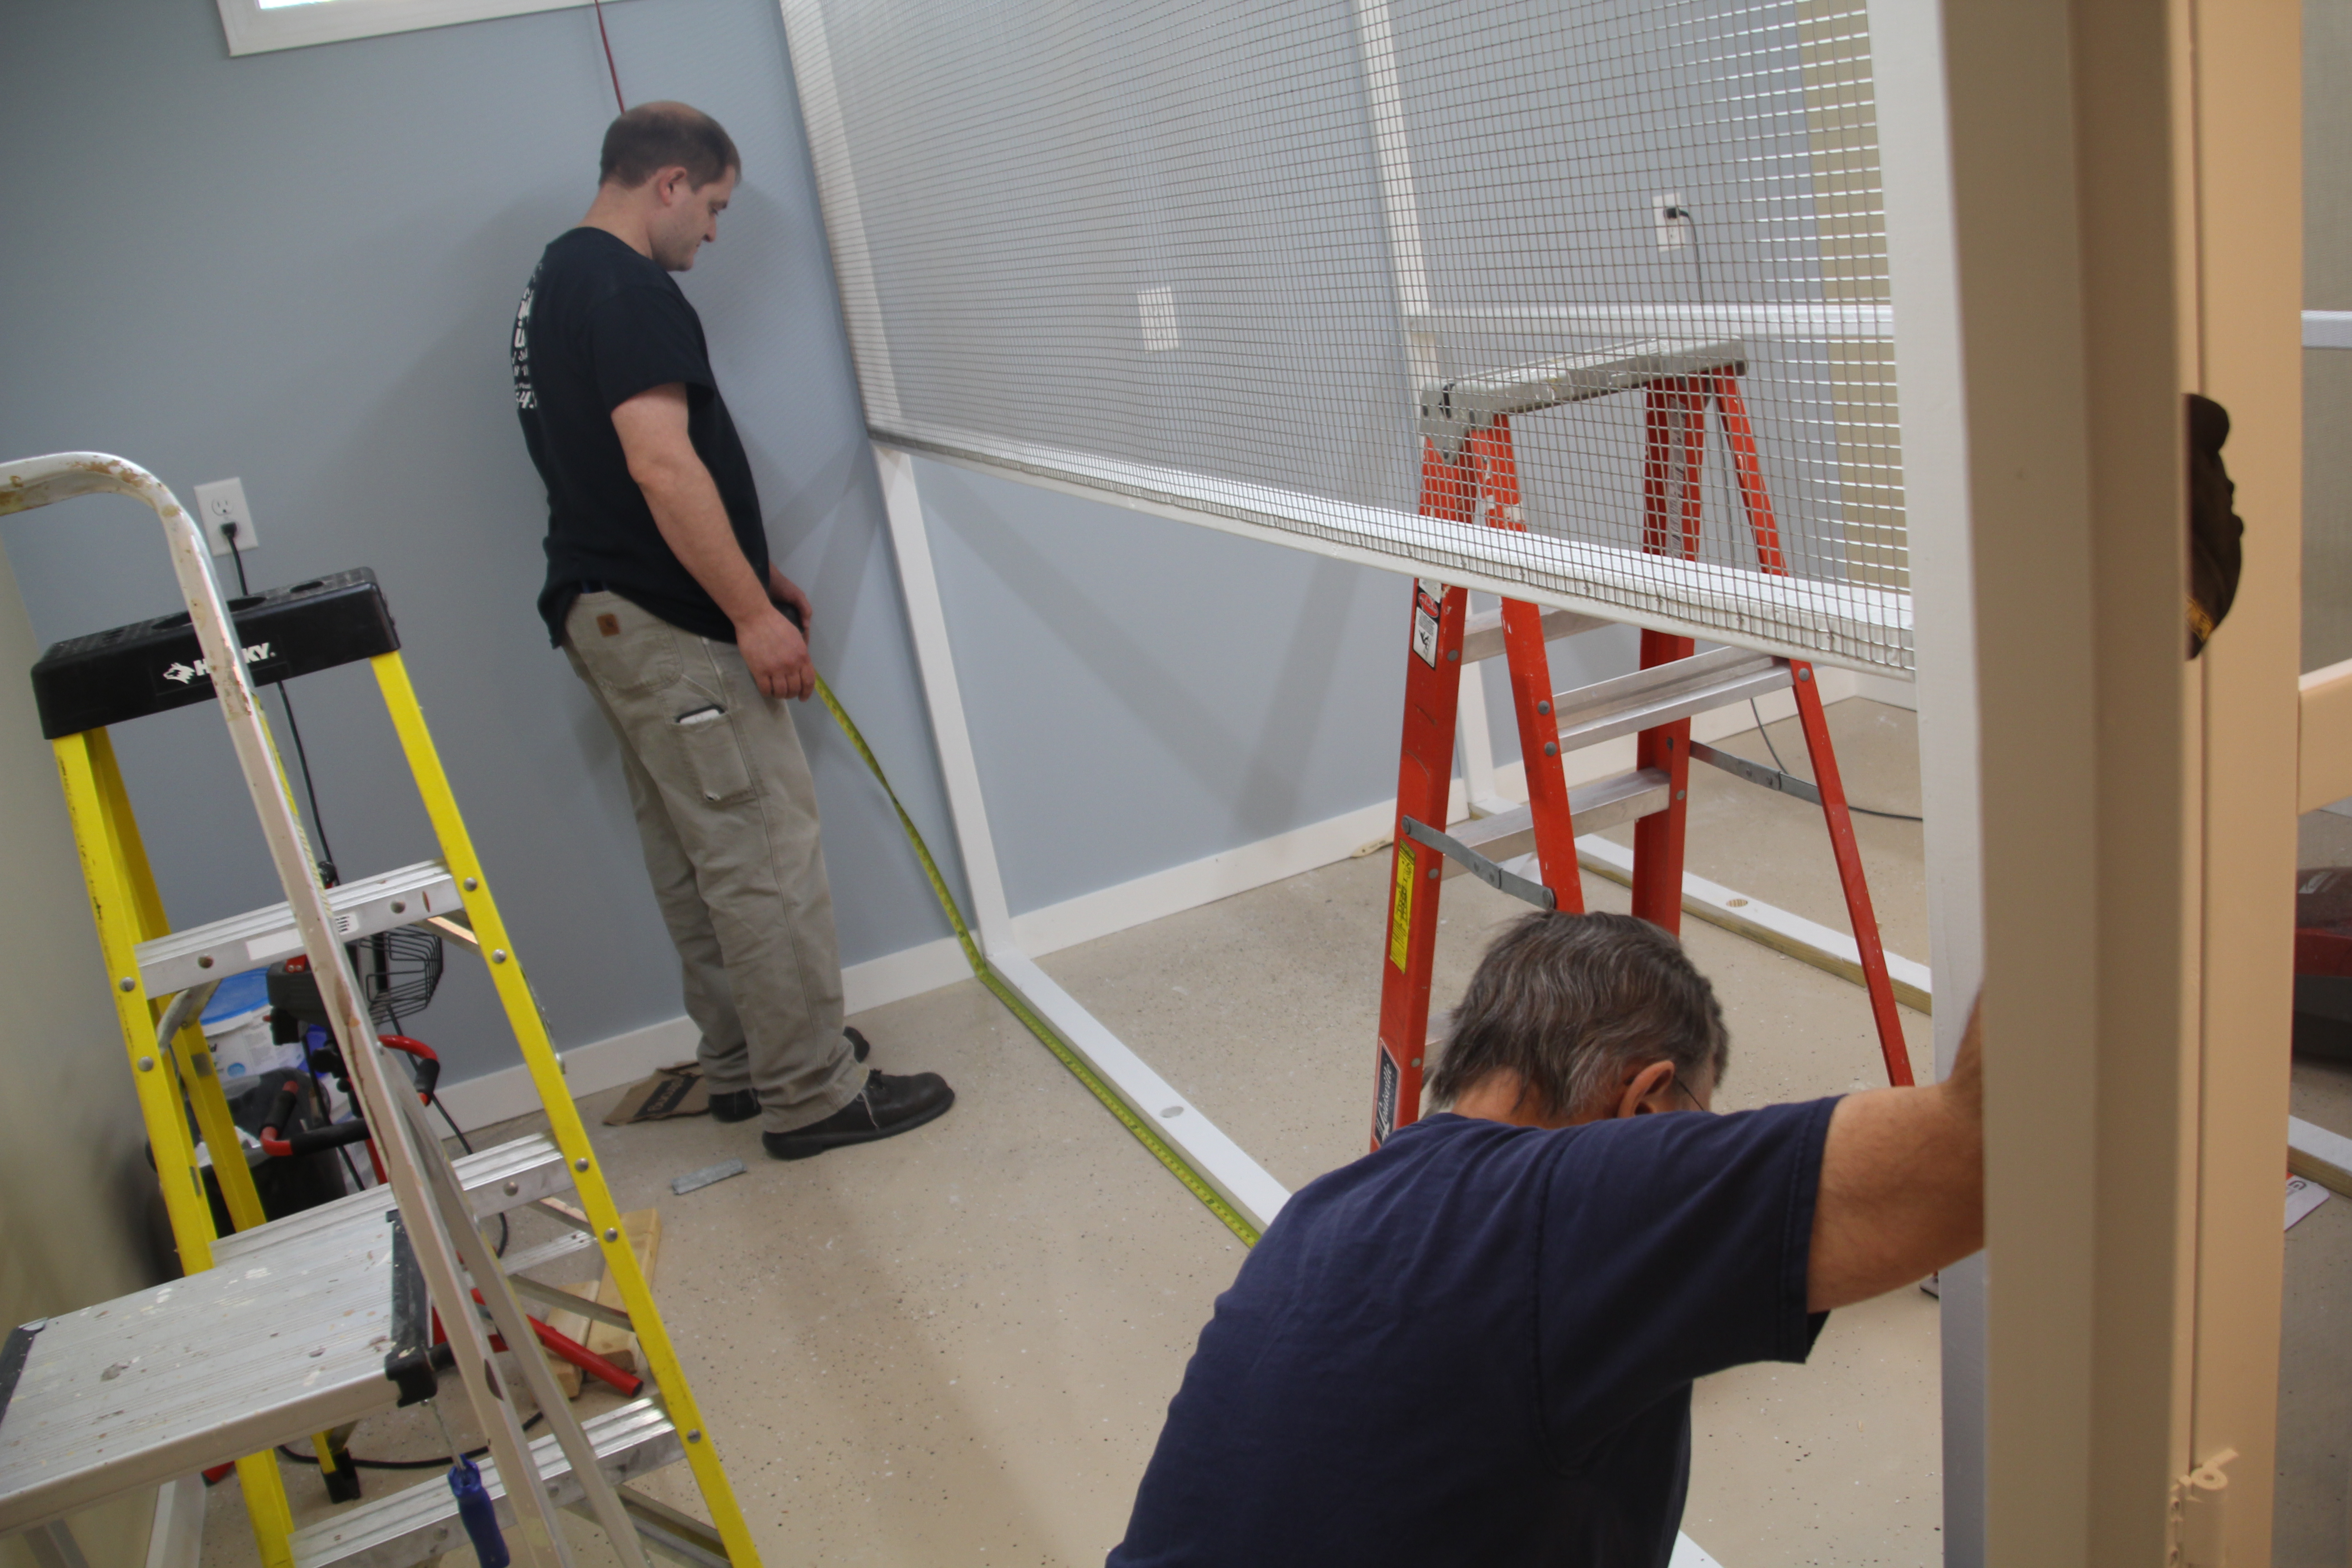
Finally, the wire!! Here my husband and father and law measure twice and cut once :-)
The wire was hard to work with in such long sections (4′ x 9′) but we did it! It really looked fabulous once stapled (stainless staples in an air nailer).
© COPYRIGHT 2015 Eddie’s Aviary
First section of wire goes in! Hooray!
Once the wire was stapled in, the rough edge to the cut wire looks to have a possible safety issue for the feathered occupants. We cut and placed trim over all the cut edges so they won’t get a band caught, or become injured. It provides a nice, finished look from inside the flight. It seems like as soon as I think we will be done that week, we run into another logistics issue that delays us! We are getting very, very close now.
**** Update ******
They are in! The birds have a ton of flying space and seem very happy. It is easier to keep the flights clean then when they were in traditional cages. Our enjoyment in watching them has also increased! Below is a photo of our daughter Elena in front of the grasskeet flight the night we moved the Bourke’s and Scarlets in.
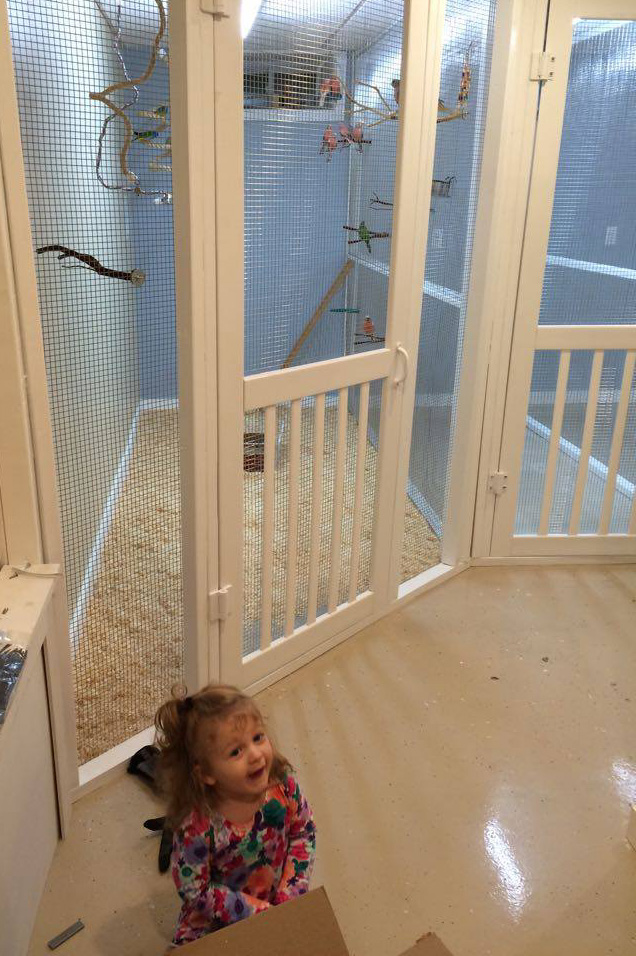
Moving in the birds day! Exciting!
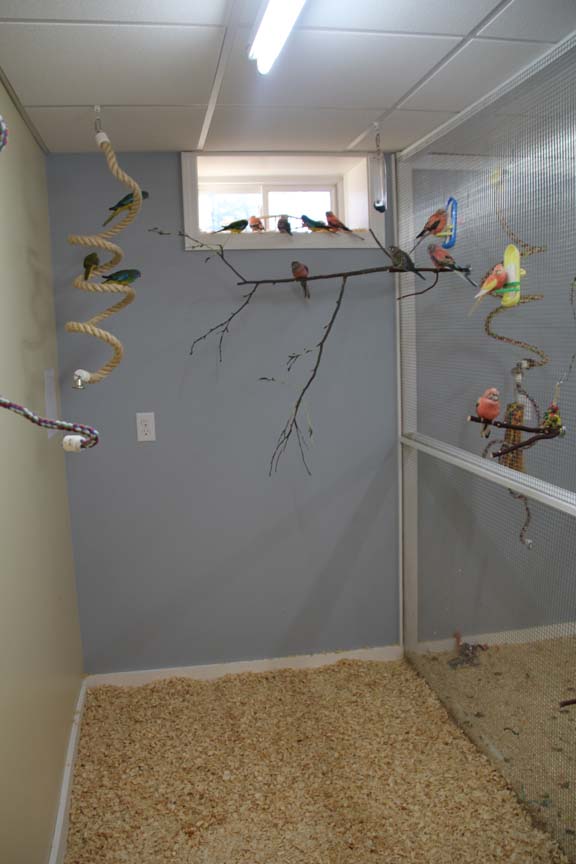
Large flake white pine shavings floor, window for a view outside, and plenty of perching spots.
We have found a couple of design flaws now that the birds have been in the flights for a couple of months. One issue is in the female Linnie flight. There are 2″ x 3″ wood timbers we painted and stapled the wire to that acts as a shelf in their section. They have been therefore pooping on it. I was covering it with shavings, but the hens love to run along it and knock them all off within minutes, so that isn’t working. Next step will be to build a 45 degree plastic insert so that it is much easier to wipe clean.
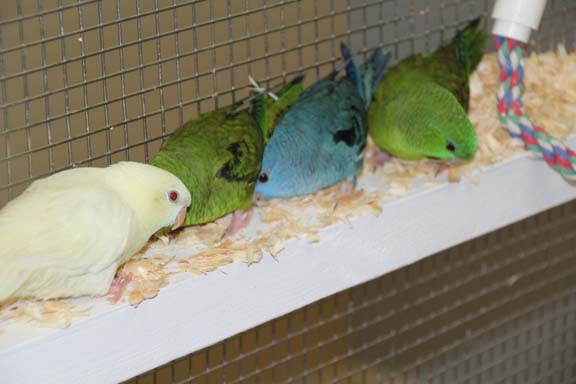
The Linnie hens love to knock off the shavings on the rails
We also faced a ceiling tile failure when the linnies decided it would be fun to chew a hole in them. We replaced the affected areas with plastic shower stall material and this has solved the problem.
More photos of the aviary to come soon, we need a wide angle lens.